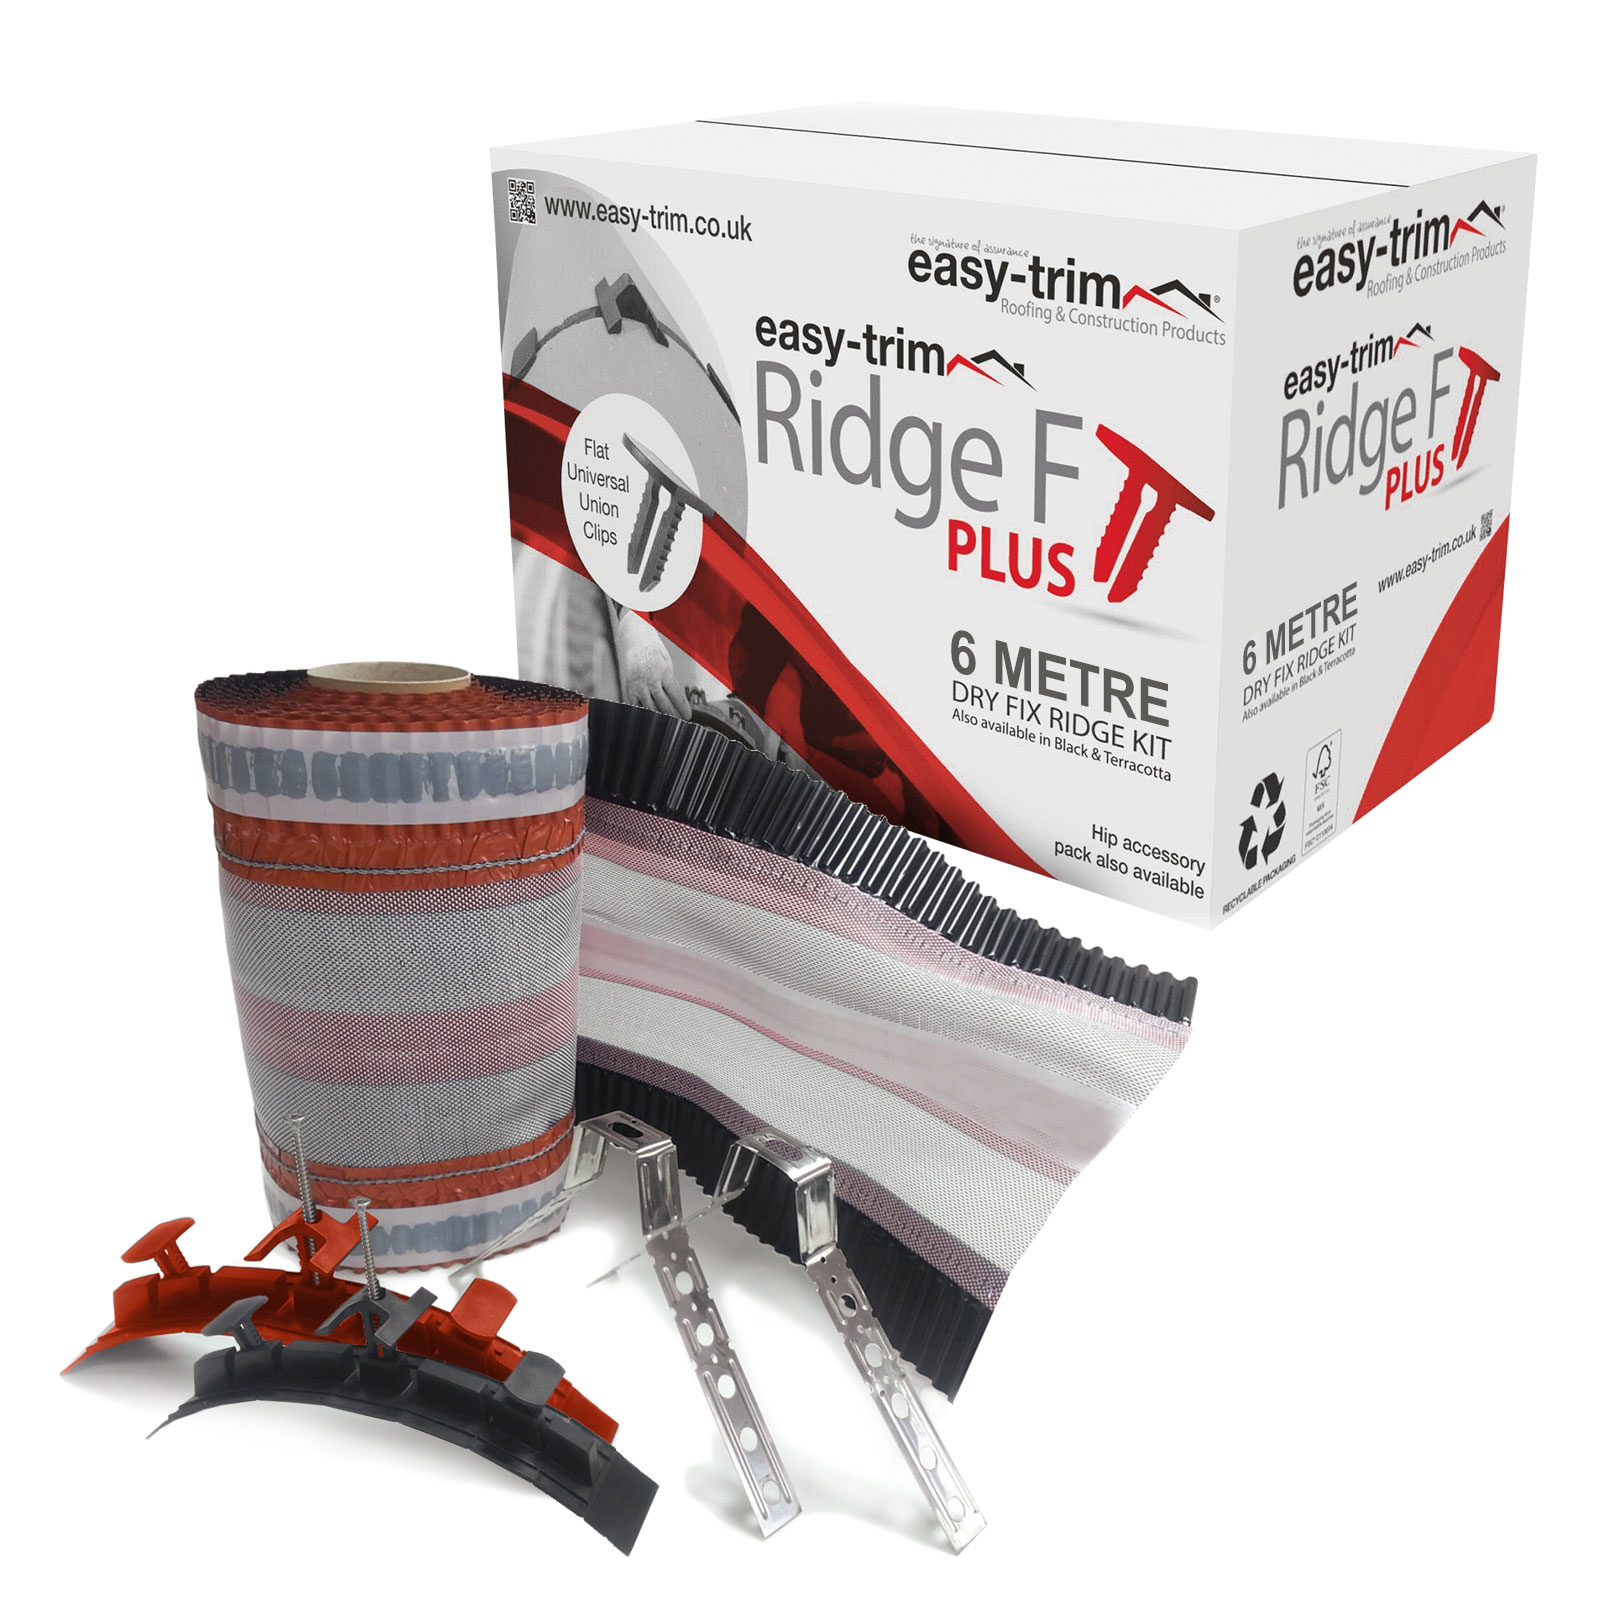
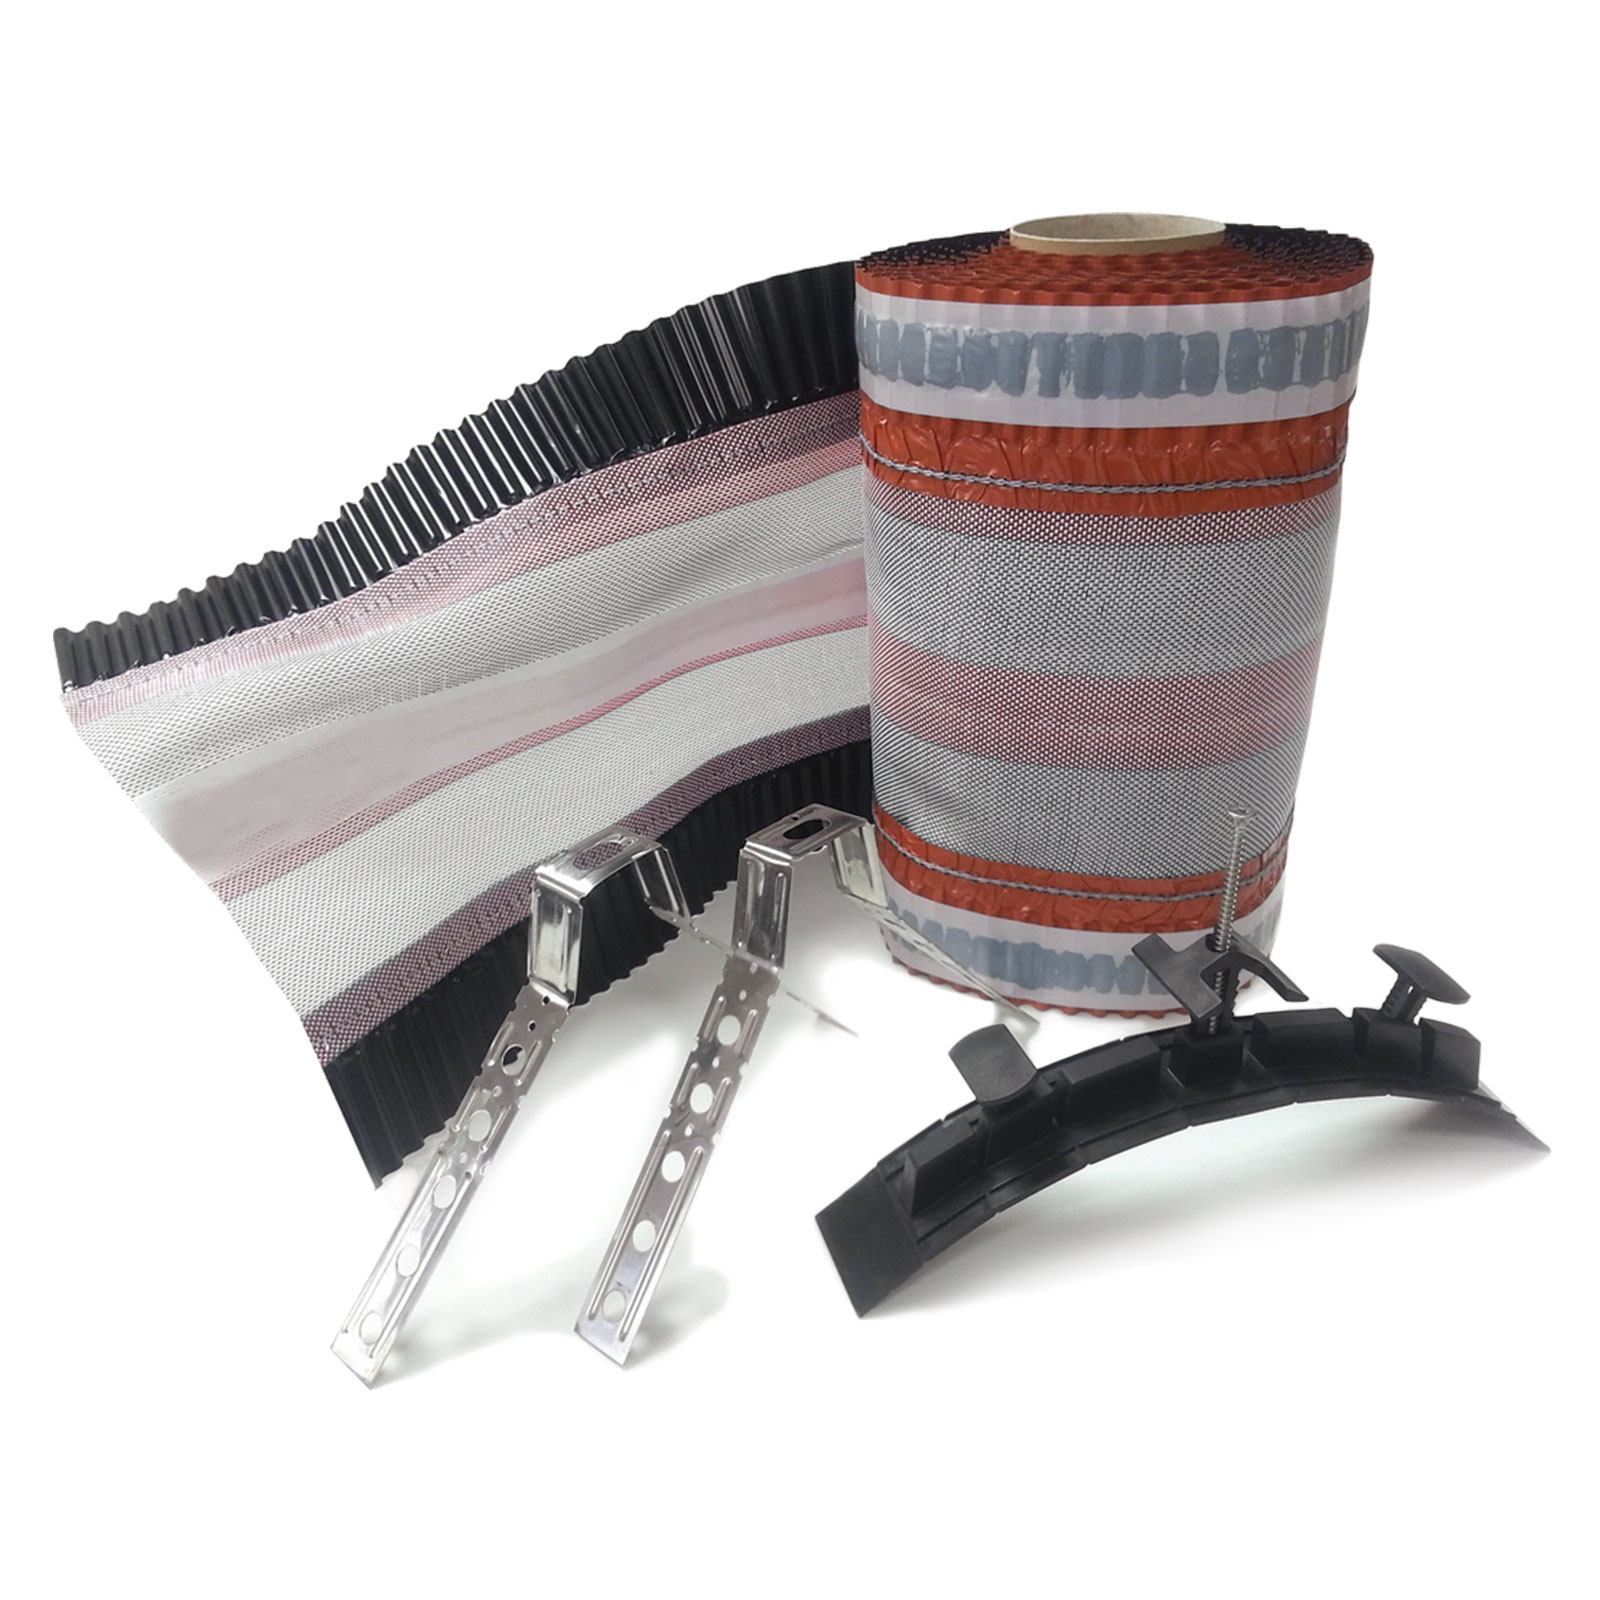
6m EasyRidge F PLUS Dry Fix Ridge Kit

£39.00*

Colour
Product number: EAS-1648-1001
Product information "6m EasyRidge F PLUS Dry Fix Ridge Kit"
20 Year Guarantee

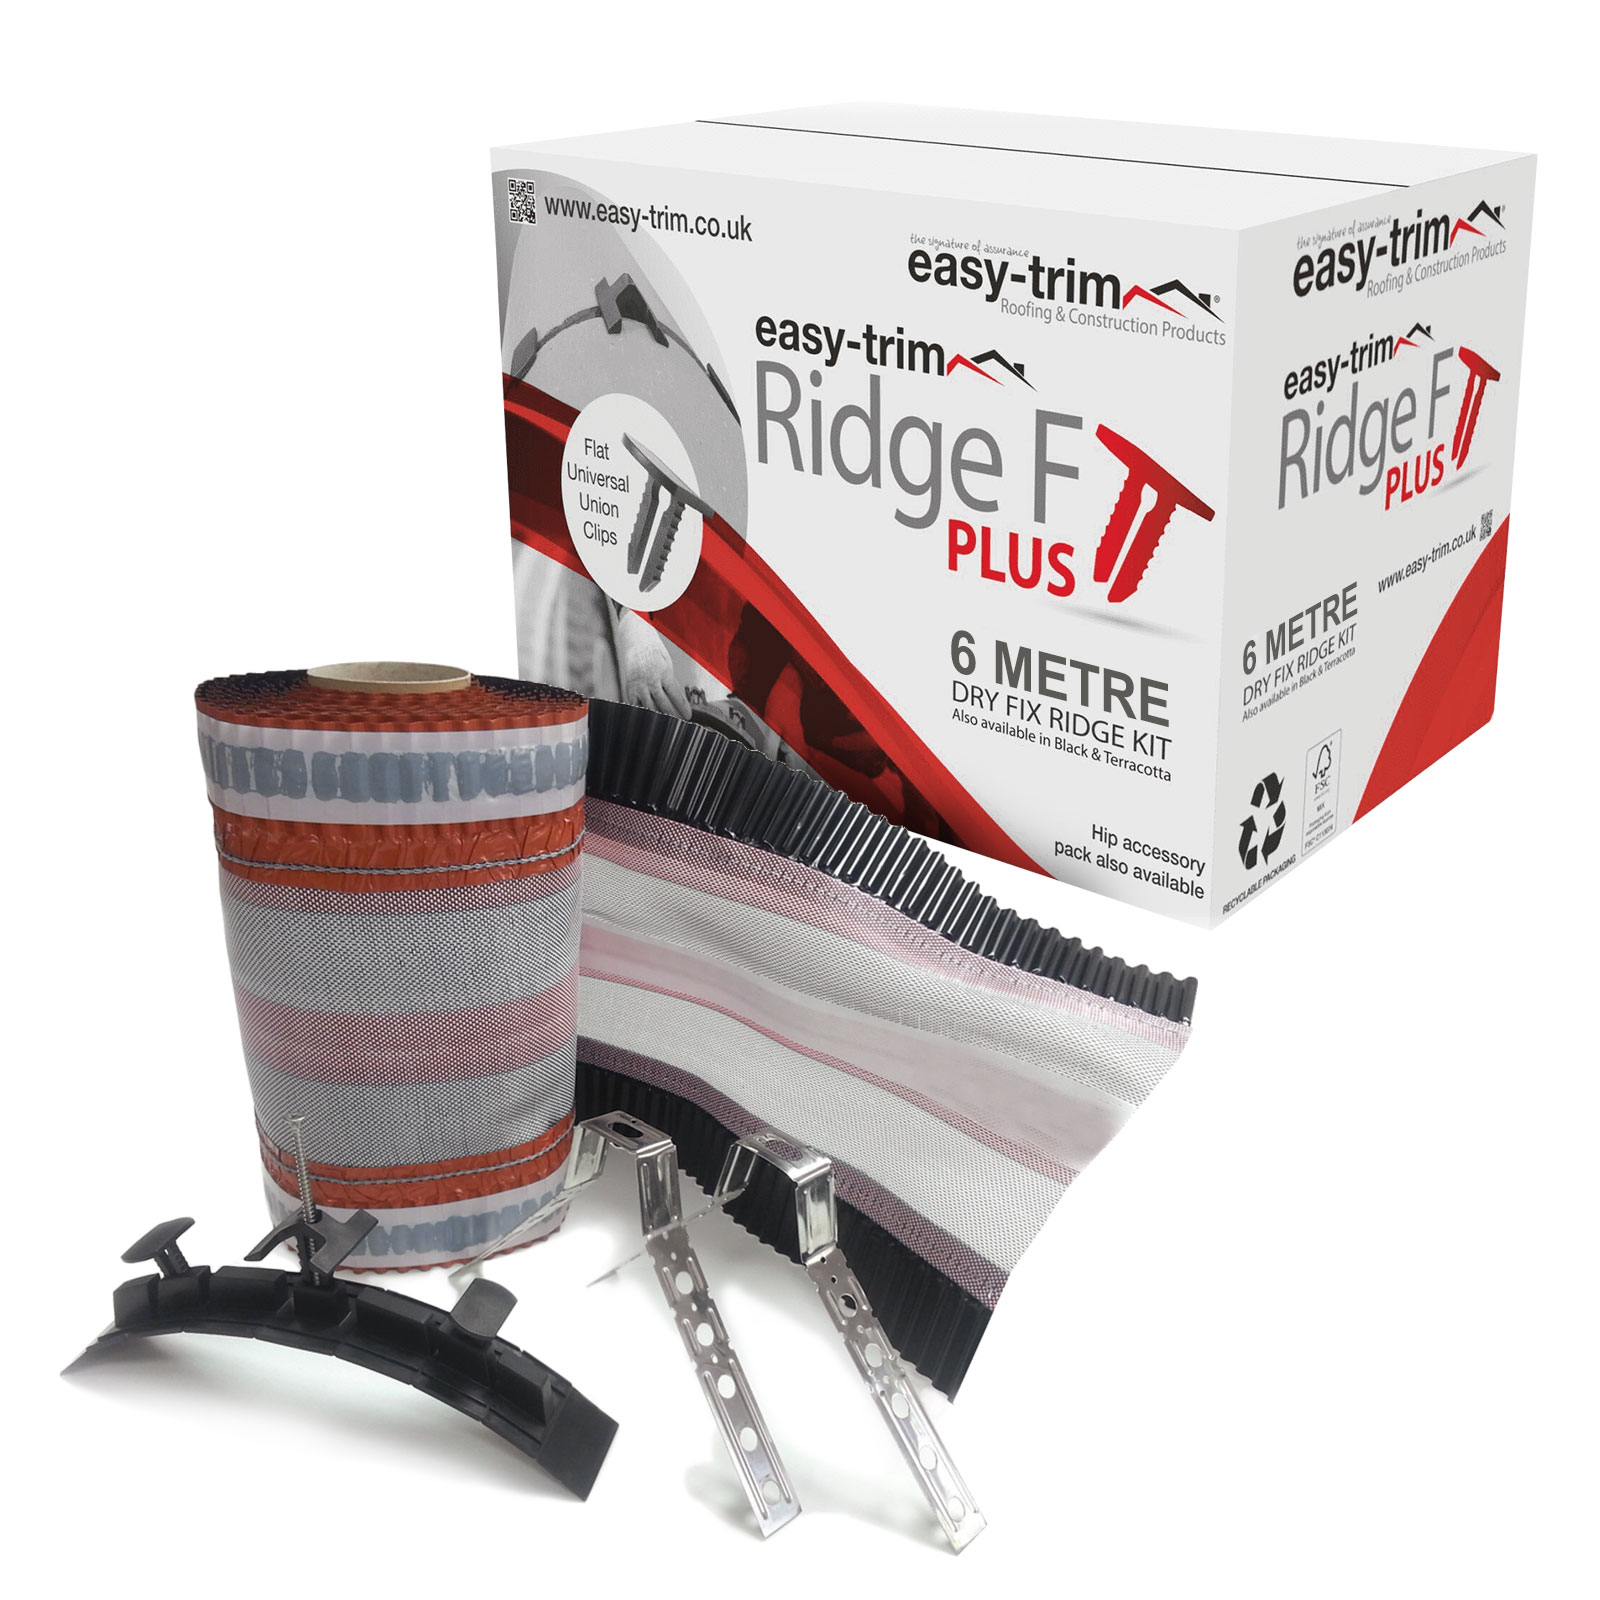
Ridge F PLUS 'Dry Fix' Ridge/Hip Kit (6m)

(Available in Black or Terracotta)

NEW Ridge F PLUS is more streamlined and more secure!

Dry Fix F Plus forms a ridge that is resistant to water, whilst allowing the roof to breath. Offers quick and simple mechanical fixing of almost all ridge tiles, and guaranteed for 20 years.

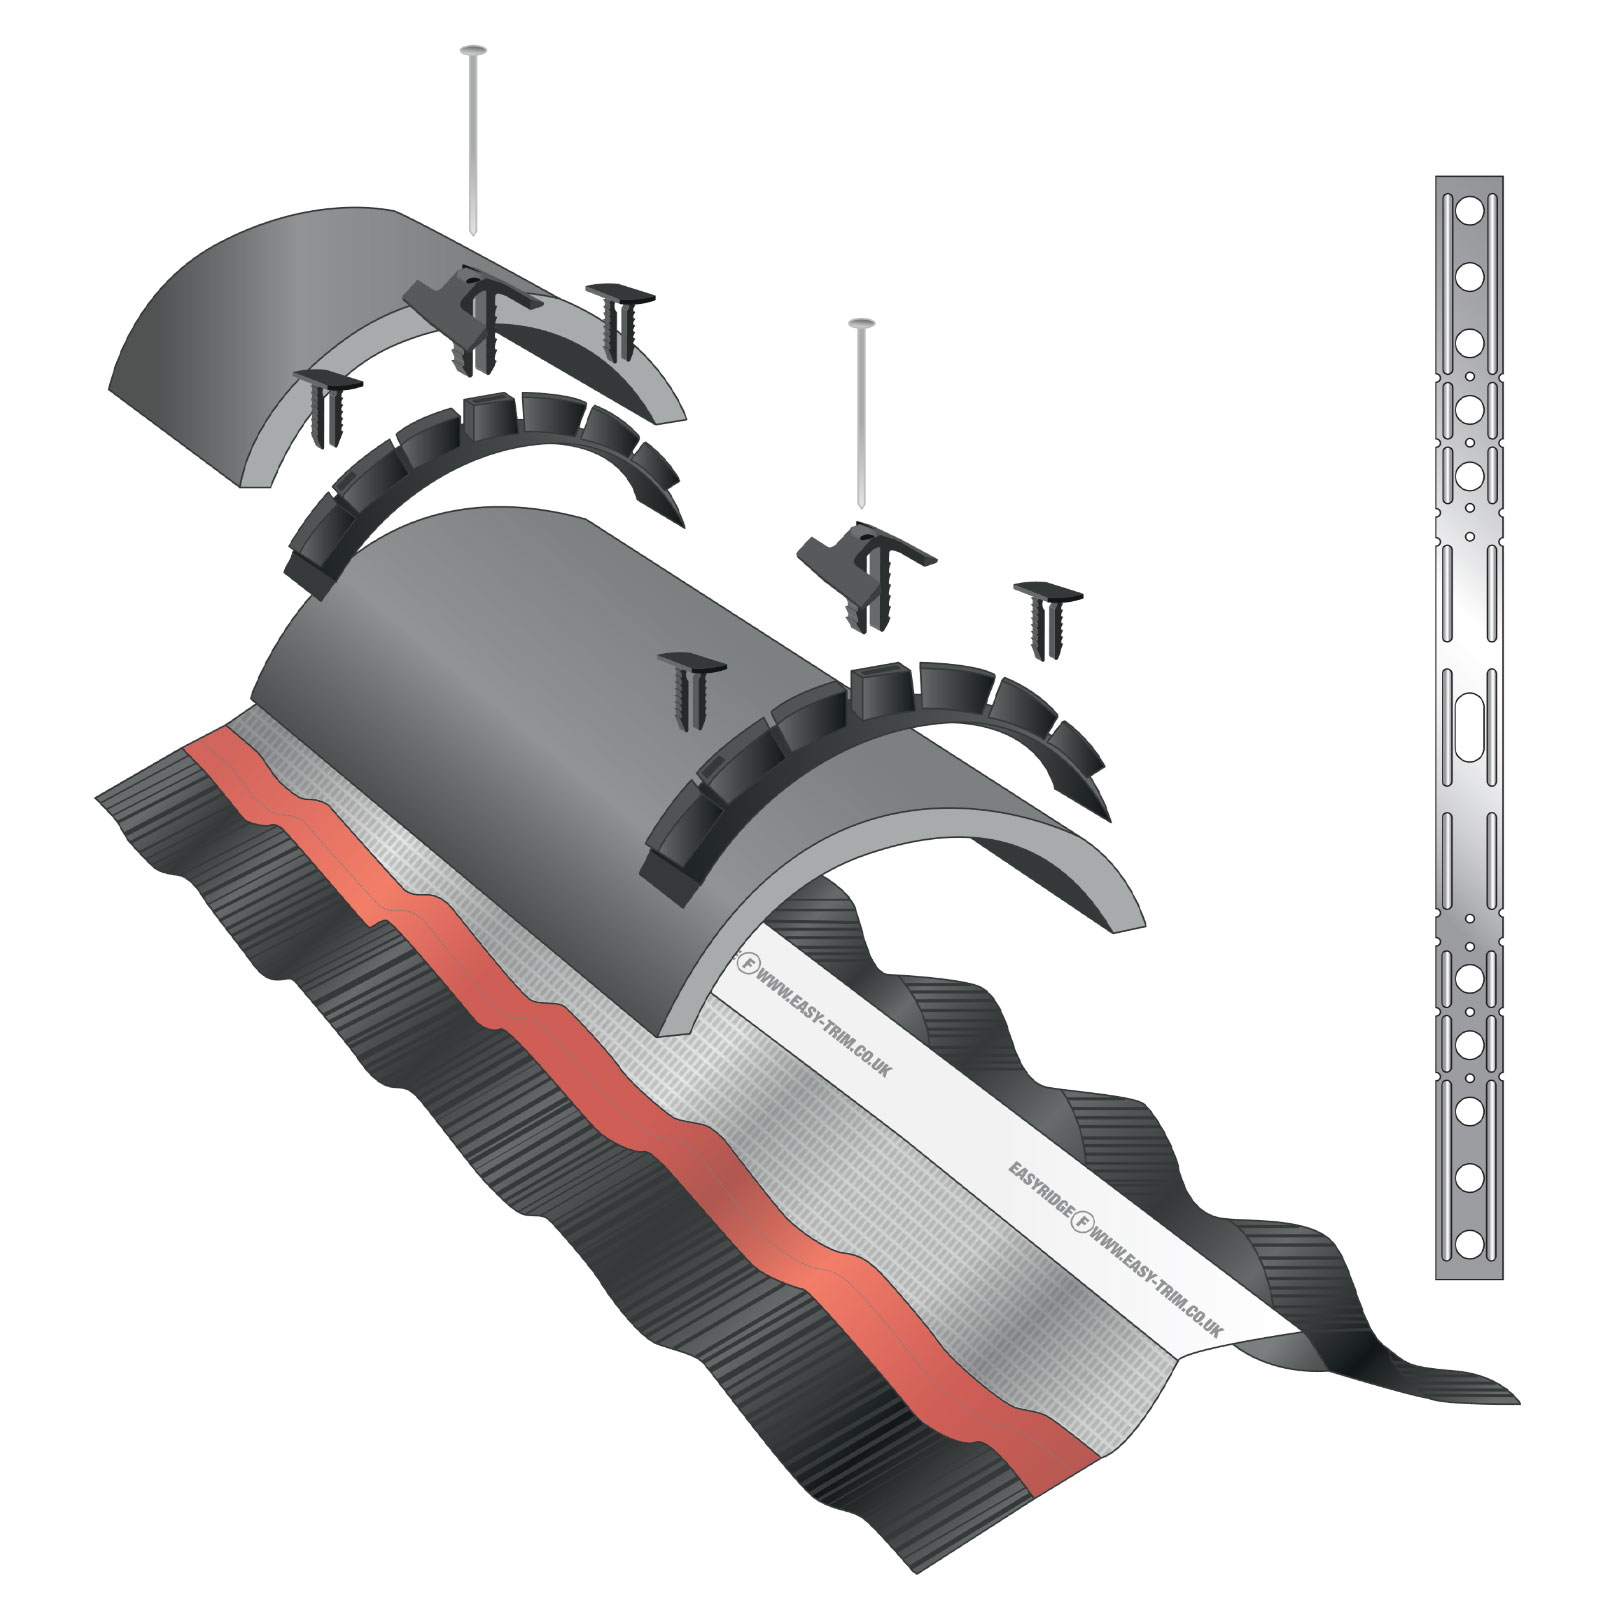
The ventilated Ridge Roll provides the equivalent of 5mm continuous airflow and it's malleable, crimped aluminium skirt with flexible ridge tile Unions are the key components that make this kit so effective. Together, they offer long term security with a quality water seal. Suitable for concrete, clay ridge tiles, and compatible with slate and tile profiles.

Features & Benefits

  • Quick and easy to fit - no special tools or skills required
  • Allows the roof to breath - provides a ventilated ridge
  • Fully serviceable - easy to maintain even after many years
  • Glass filled nylons - increased strength, resistance and stability
  • Discreet design - provides a more streamlined appearance
  • Can also be used on hips - requires dedicated Hip Trays
  • Long-life durable fixings - Stainless Steel and Nylon
  • 20 year guarantee - British Standard product you can trust

The Easy Ridge F complies with BS 5250 and BS 5534 and is manufactured to DIN 4108/3. The dry fix system is resistant to freeze/thaw cycles plus thermal expansion/contraction and is recommended by NHBC.


CAN BE USED ON HIPS! Ridge F Plus is great on hips too! Just requires a dedicated Hip Try to be fitted over the ventilated roll (see our Hip Accessory Kits).

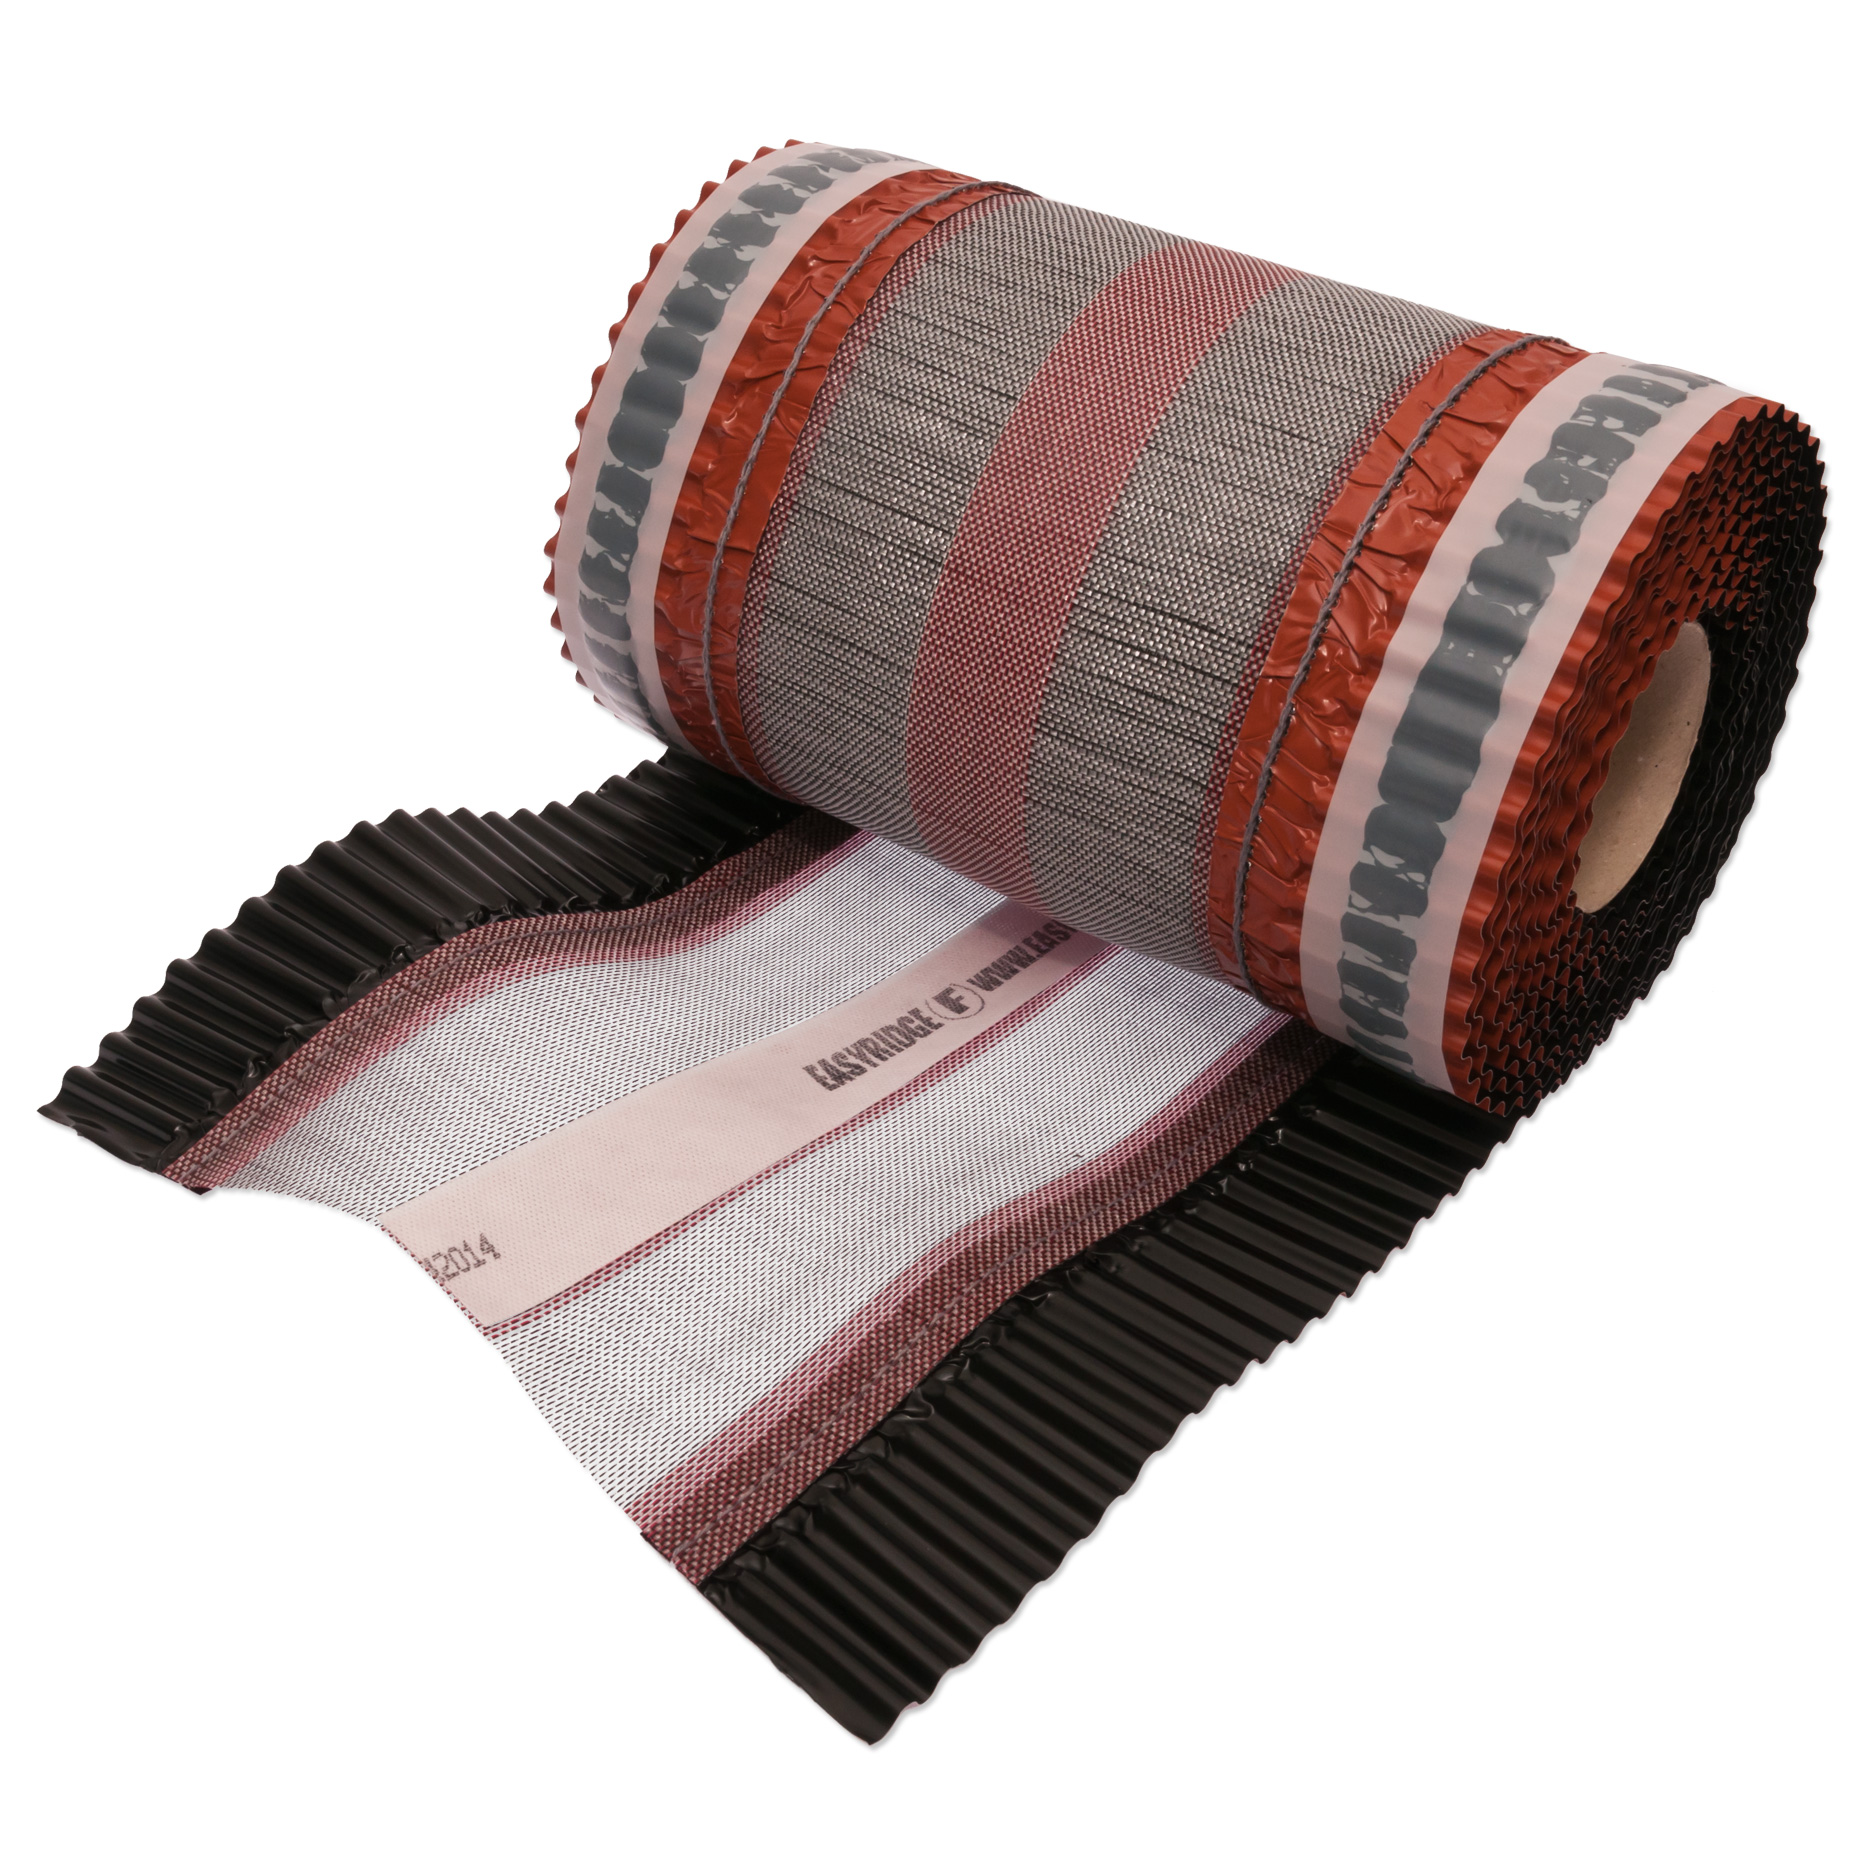
6m Ventilated Ridge Roll

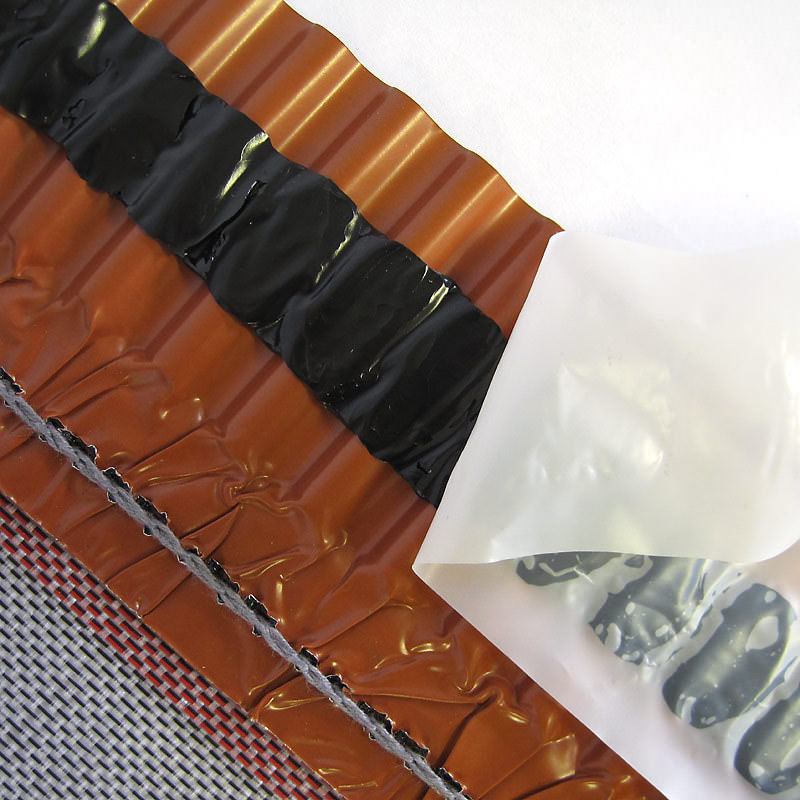
Polypropylene mesh fabric with spine and malleable crimped aluminium skirt, which makes it easy to dress over contoured tiles. Underside of skirt has high butyl adhesive strips for sealing against roof tile.

Material Polypropylene and Aluminium
Length 6,000mm
Width 300mm
Colour finge and clips Black or Terracotta

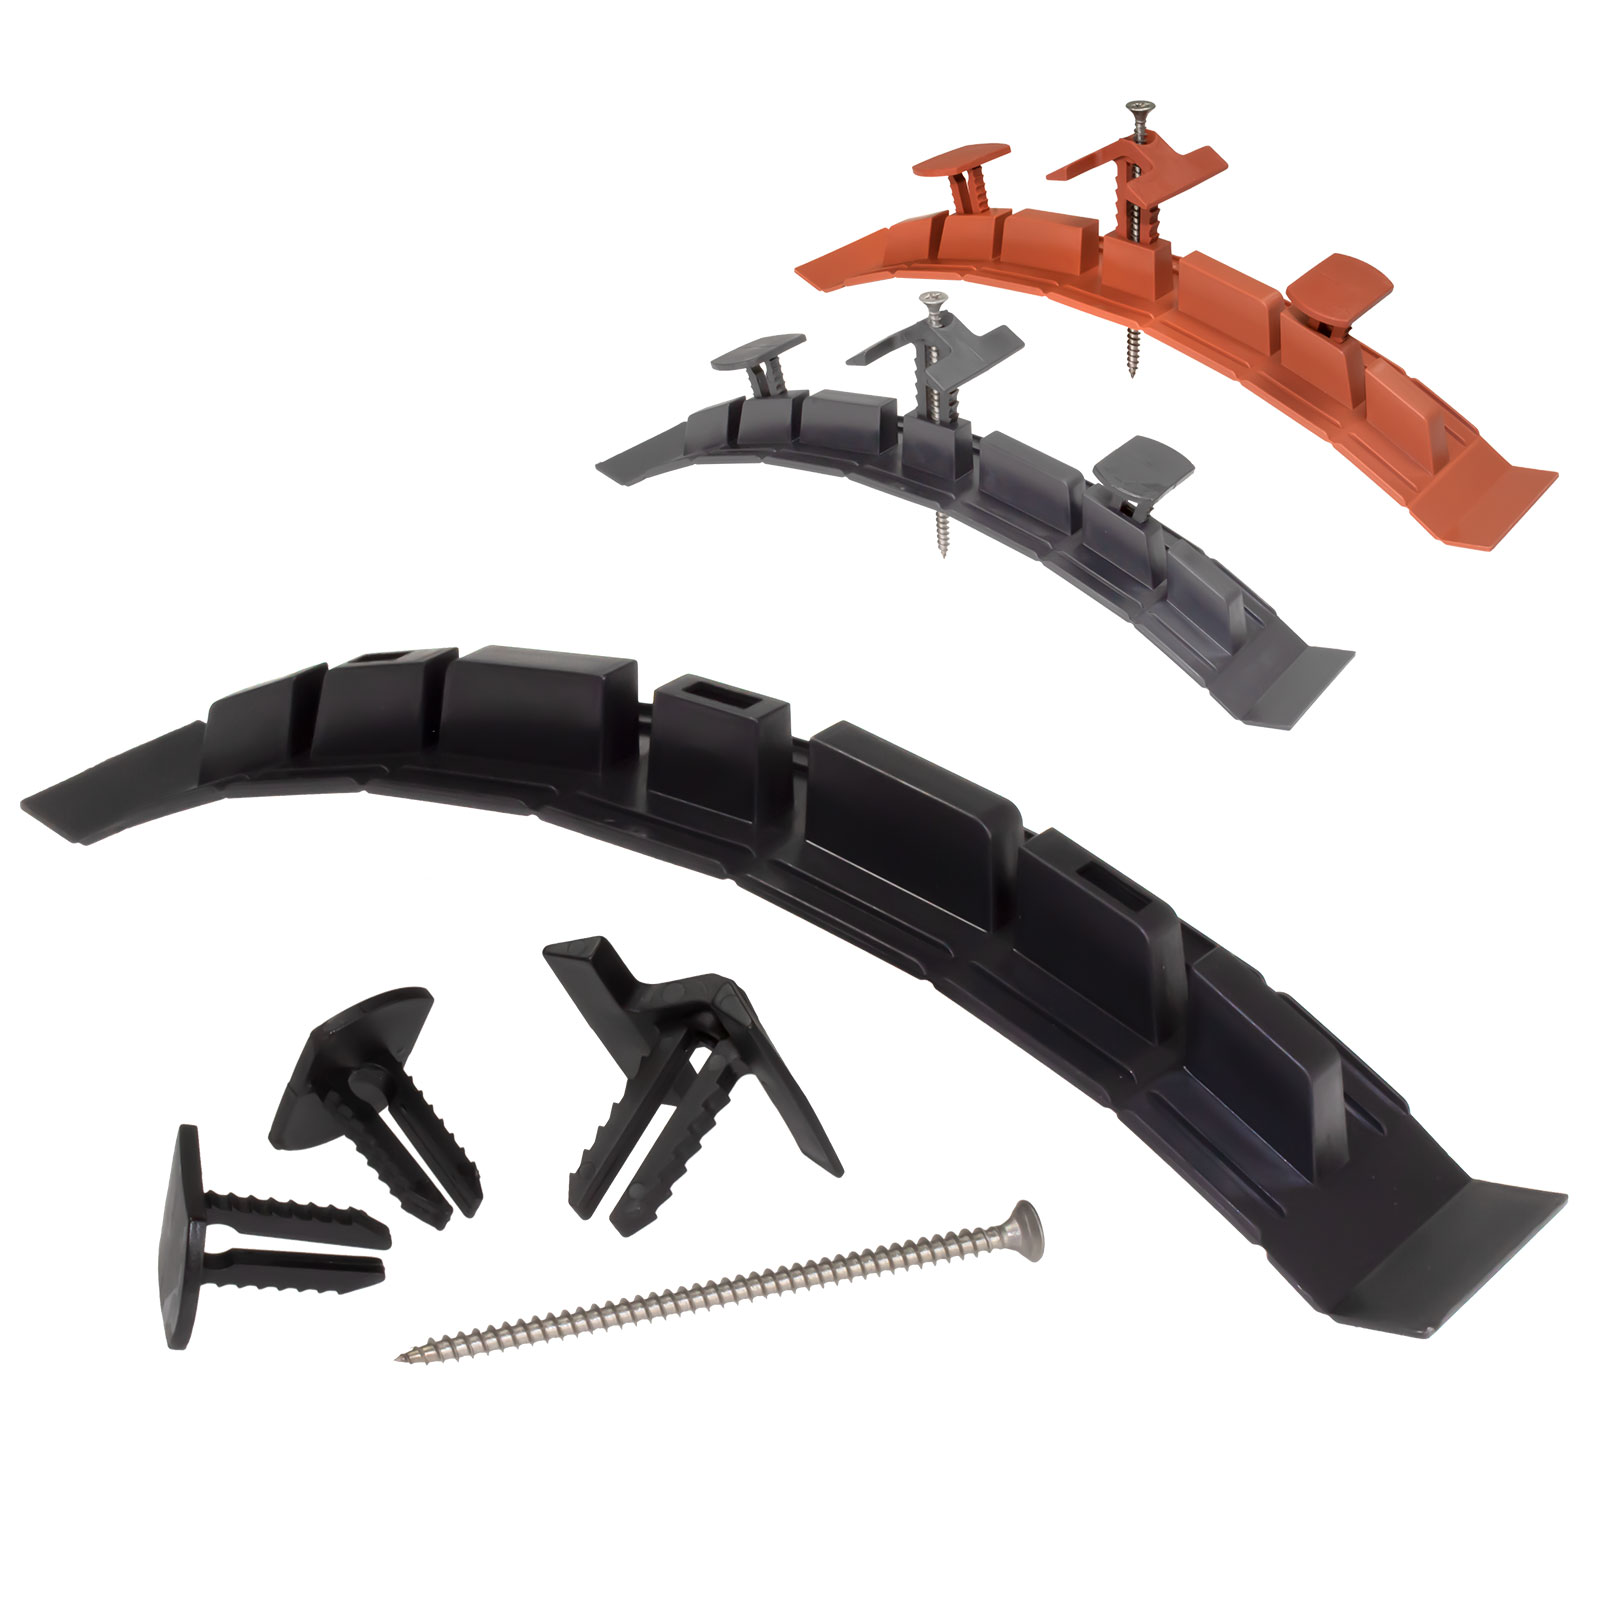
Ridge Unions (13 Pack)

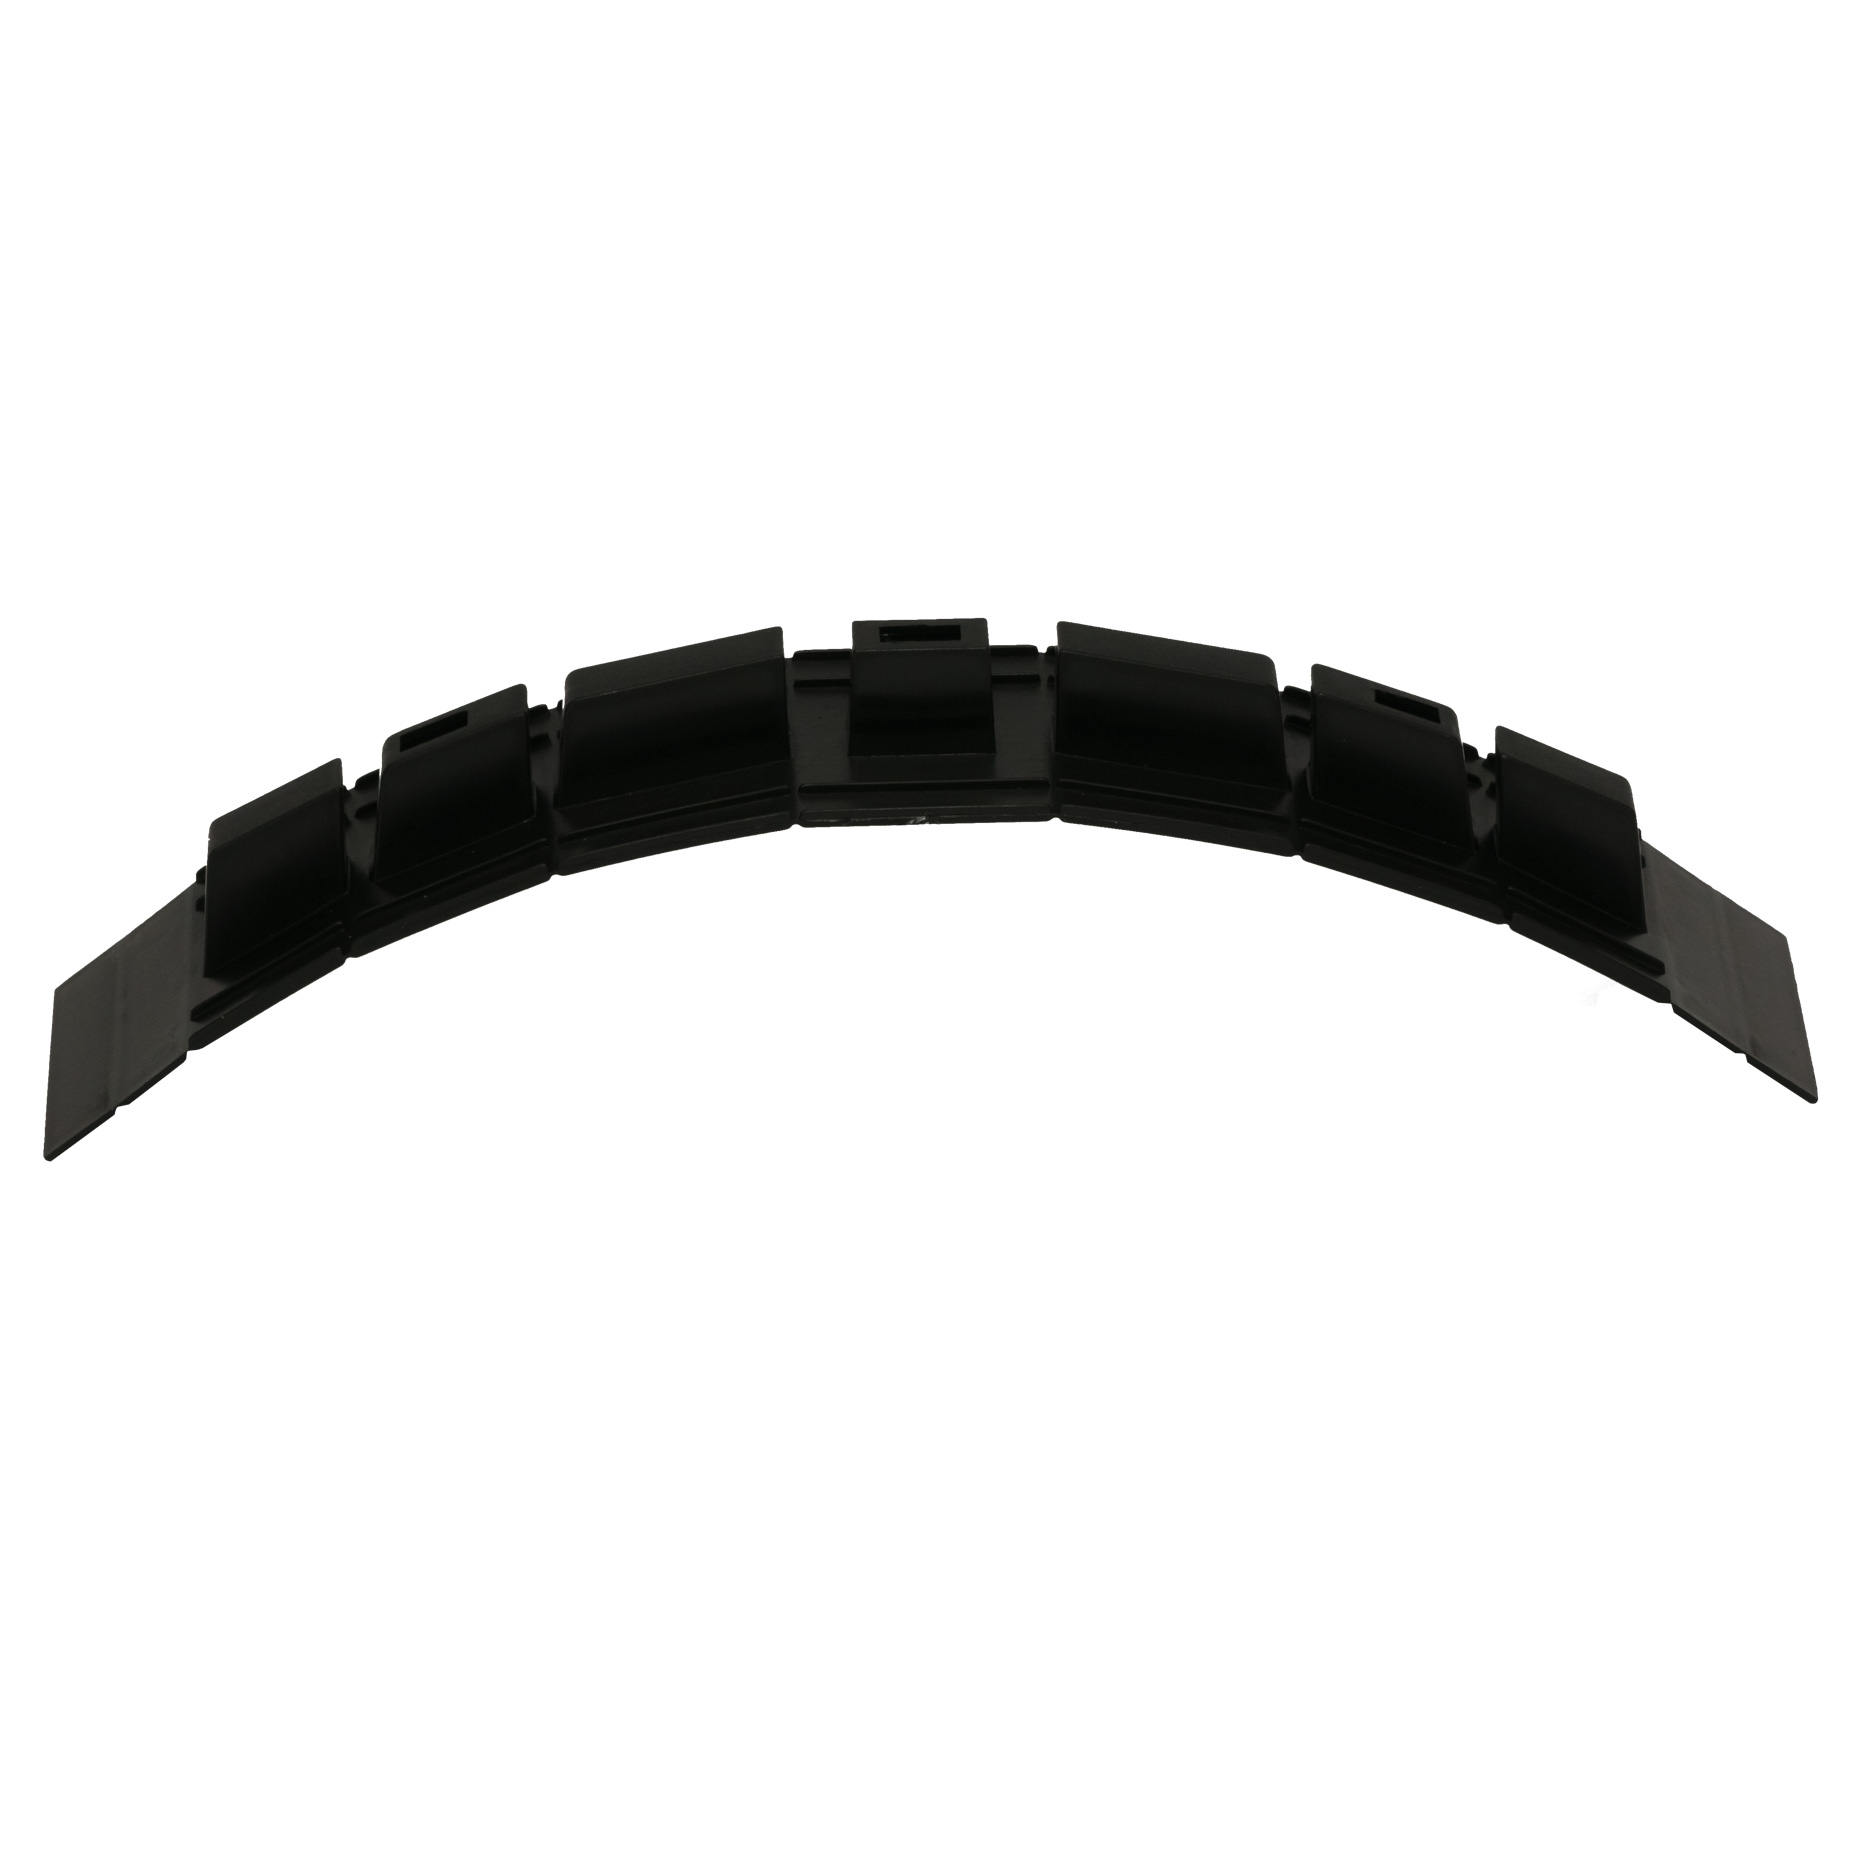
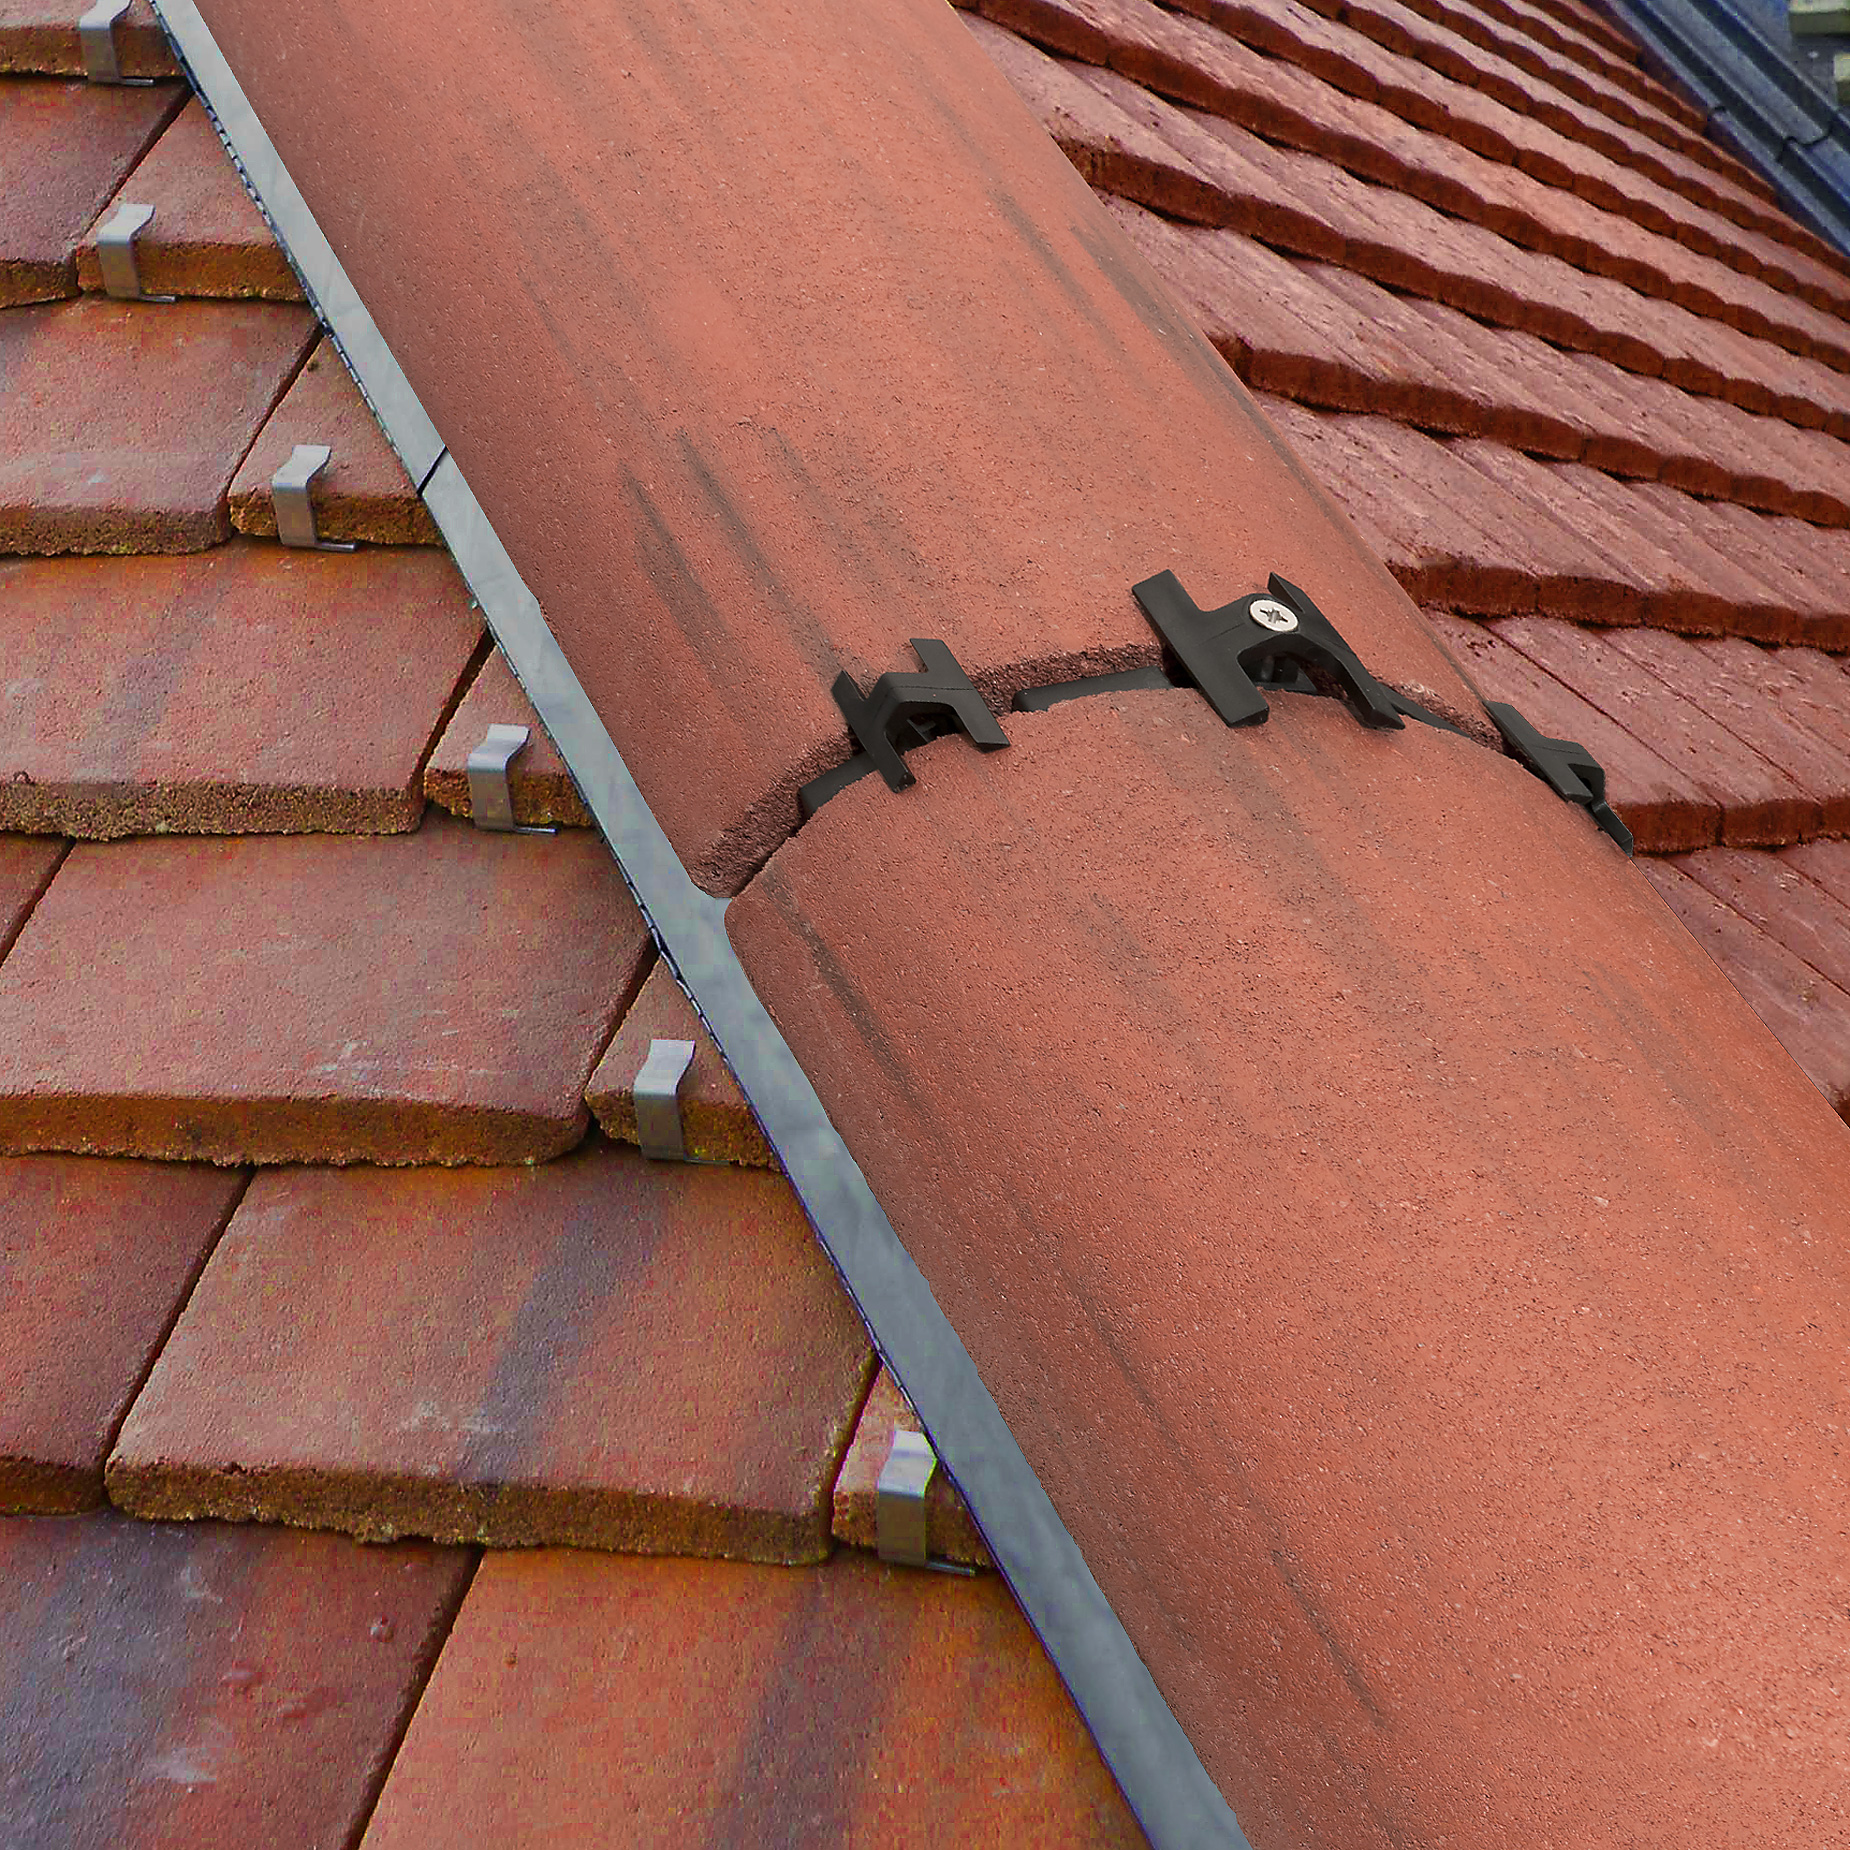
Tough and flexible Nylon unions that you can use with almost all ridge tile, including angled and half round profiles of concrete or clay. Adjoining ridge tile sit on either side of a union up-stand and are trapped securely with 3 'ratchet' clips , the central one featuring a screw port to fasten to ridge batten with provided stainless steel screw. Enough unions are supplied for standard length ridge tiles over 6m. Additional unions may be required if ridge tiles are shorter than 400mm.

Material Nylon (union), Glass filled nylon (ratchet clips), Stainless Steel (screw fixings)
Length 304.8mm
Width 50mm
Height 20mm
Colour Black

Each of the 13 x Unions is supplied with 1 x Large Ratchet Clip, 2 x Small Ratchet Clips and 1 x Stainless Steel screw.

* Measurements taken when union flat.

Ridge Batten Straps (10 Pack)

Stainless steel straps, designed to be folded over ridge fixing battens and nailed to roof truss rafters through pre-drilled holes. Supplied with approximately 45 x nails.

Material Stainless Steel (brackets), Stainless Steel (clout nails)
Strap Length 400mm
Strap Width 25mm

Supplied with a quantity of Stainless Steel cloat nails.


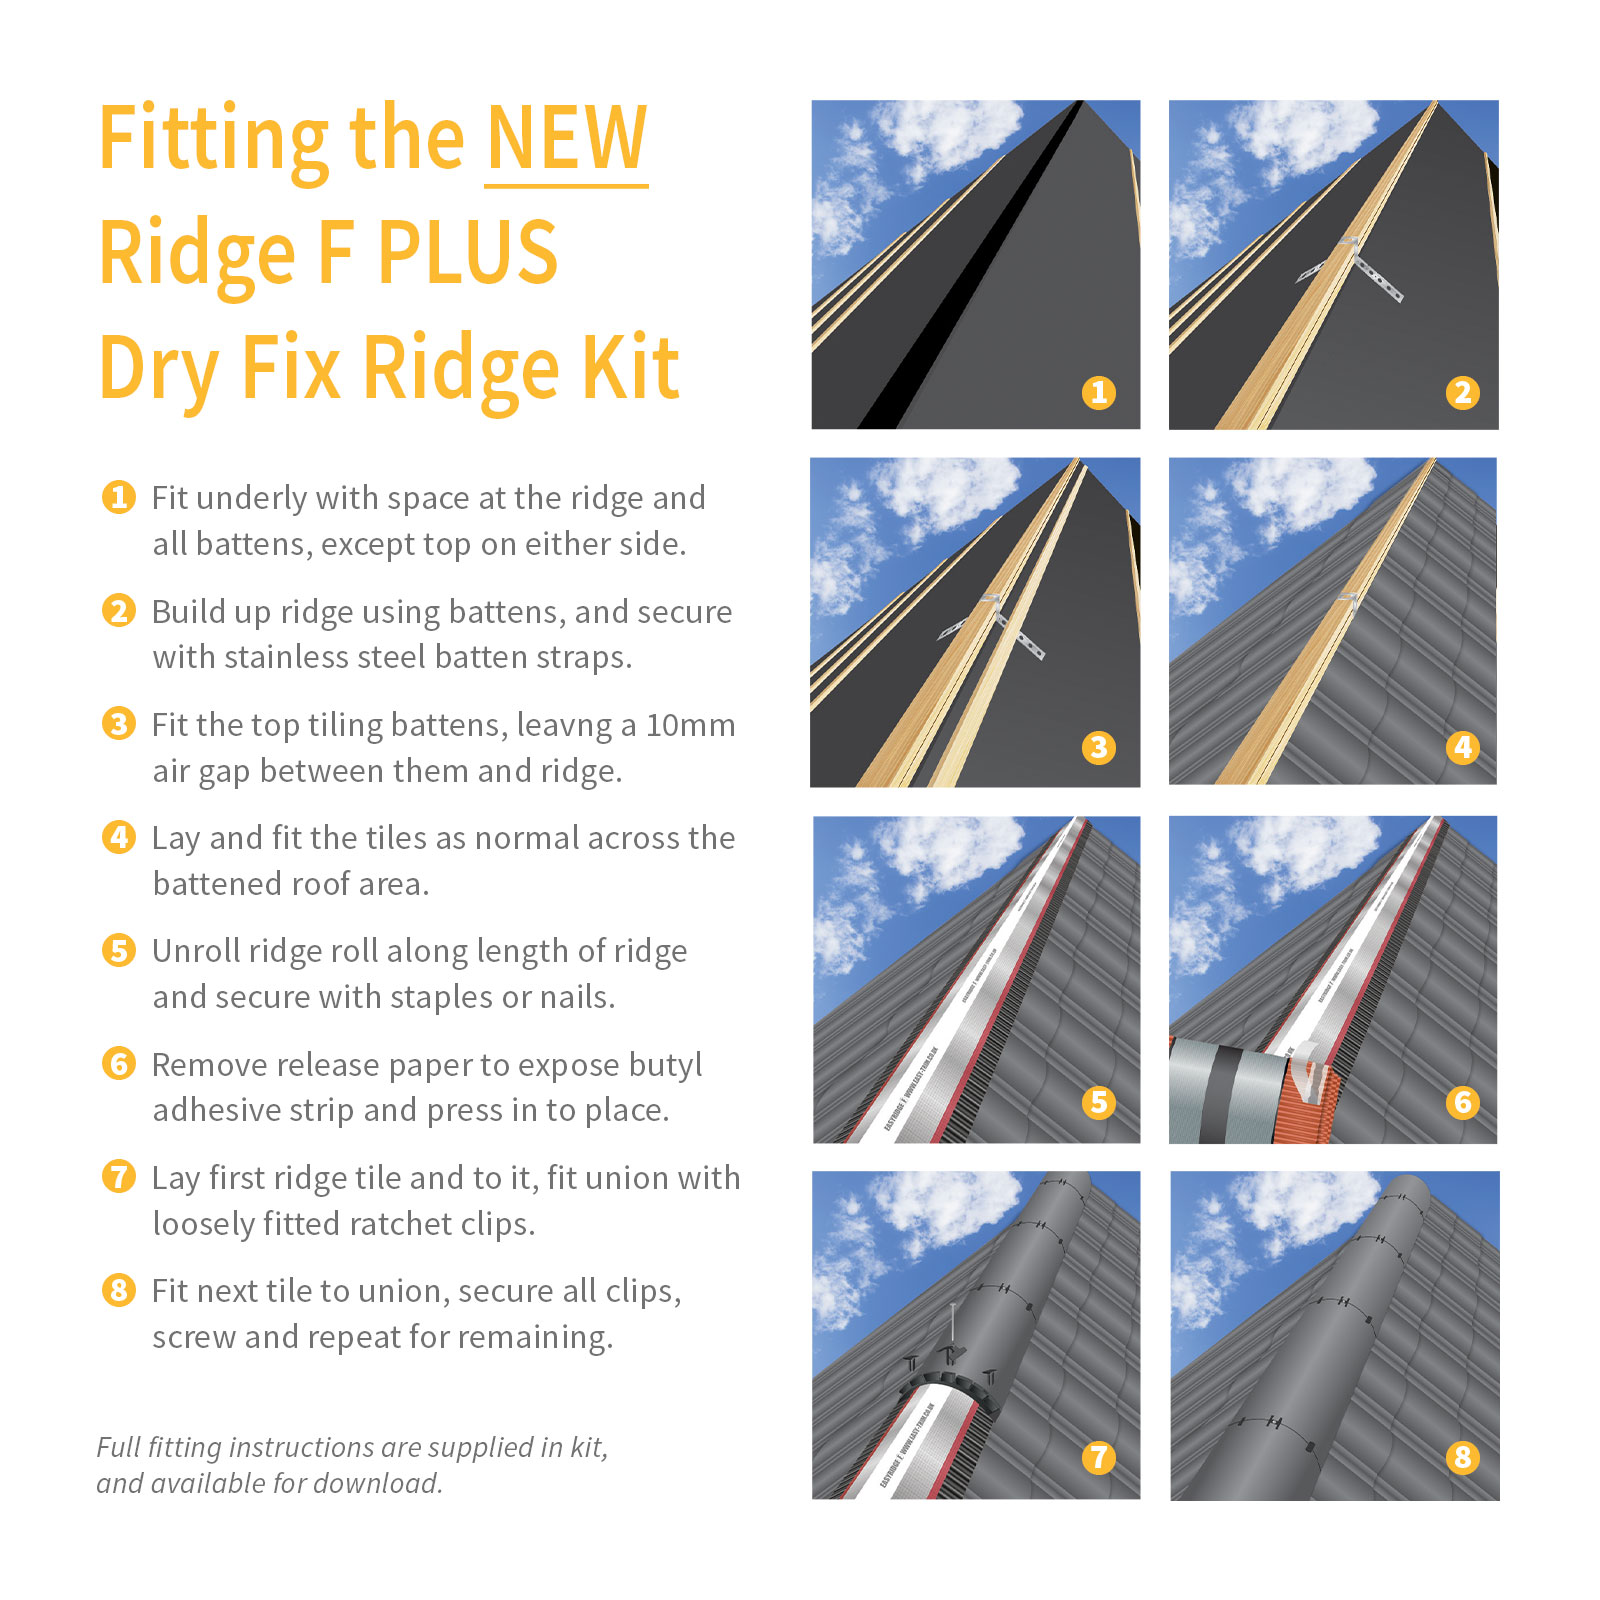
The kit is supplied with fitting instruction to help you through the process but be assured, fitting is quick and easy compared to mortar fitting and other dry-fix systems.

  1. Install roof underlay and battens as normal but finish underlay 5-30mm short of apex on either side and don't fit last batten
  2. Build up the ridge batten to required height (two battens are usually sufficient), and using stainless steel batten straps.
  3. Fix top tiling batten with minimum 10mm air gap between it and ridge batten, then lay and fix the tiles as normal
  4. Unroll EasyRidge F PLUS over the ridge batten, ensuring coverage over top course of tile and secure with corrosion resistant staples or nails
  5. Remove release paper from the butyl adhesive strips and dress neatly onto the dry/clean tiled surface
  6. Prepare the Unions by lightly pressing one large fixing clip (in the central slot) and 2 smaller ratchet clips
  7. Place end ridge tile and insert the prepared ridge union under and between the ridge tiles.
  8. Loosely tighten the 3 ratchet clips down onto the union.
  9. Secure to ridge fixing batten with Stainless Steel screw through central fixing clip
  10. Pushing the ratchet clips into the union to secure.
  11. Continue process along the ridge

0 of 0 reviews

Leave a review!

Share your experiences with other customers.


Accessory Items

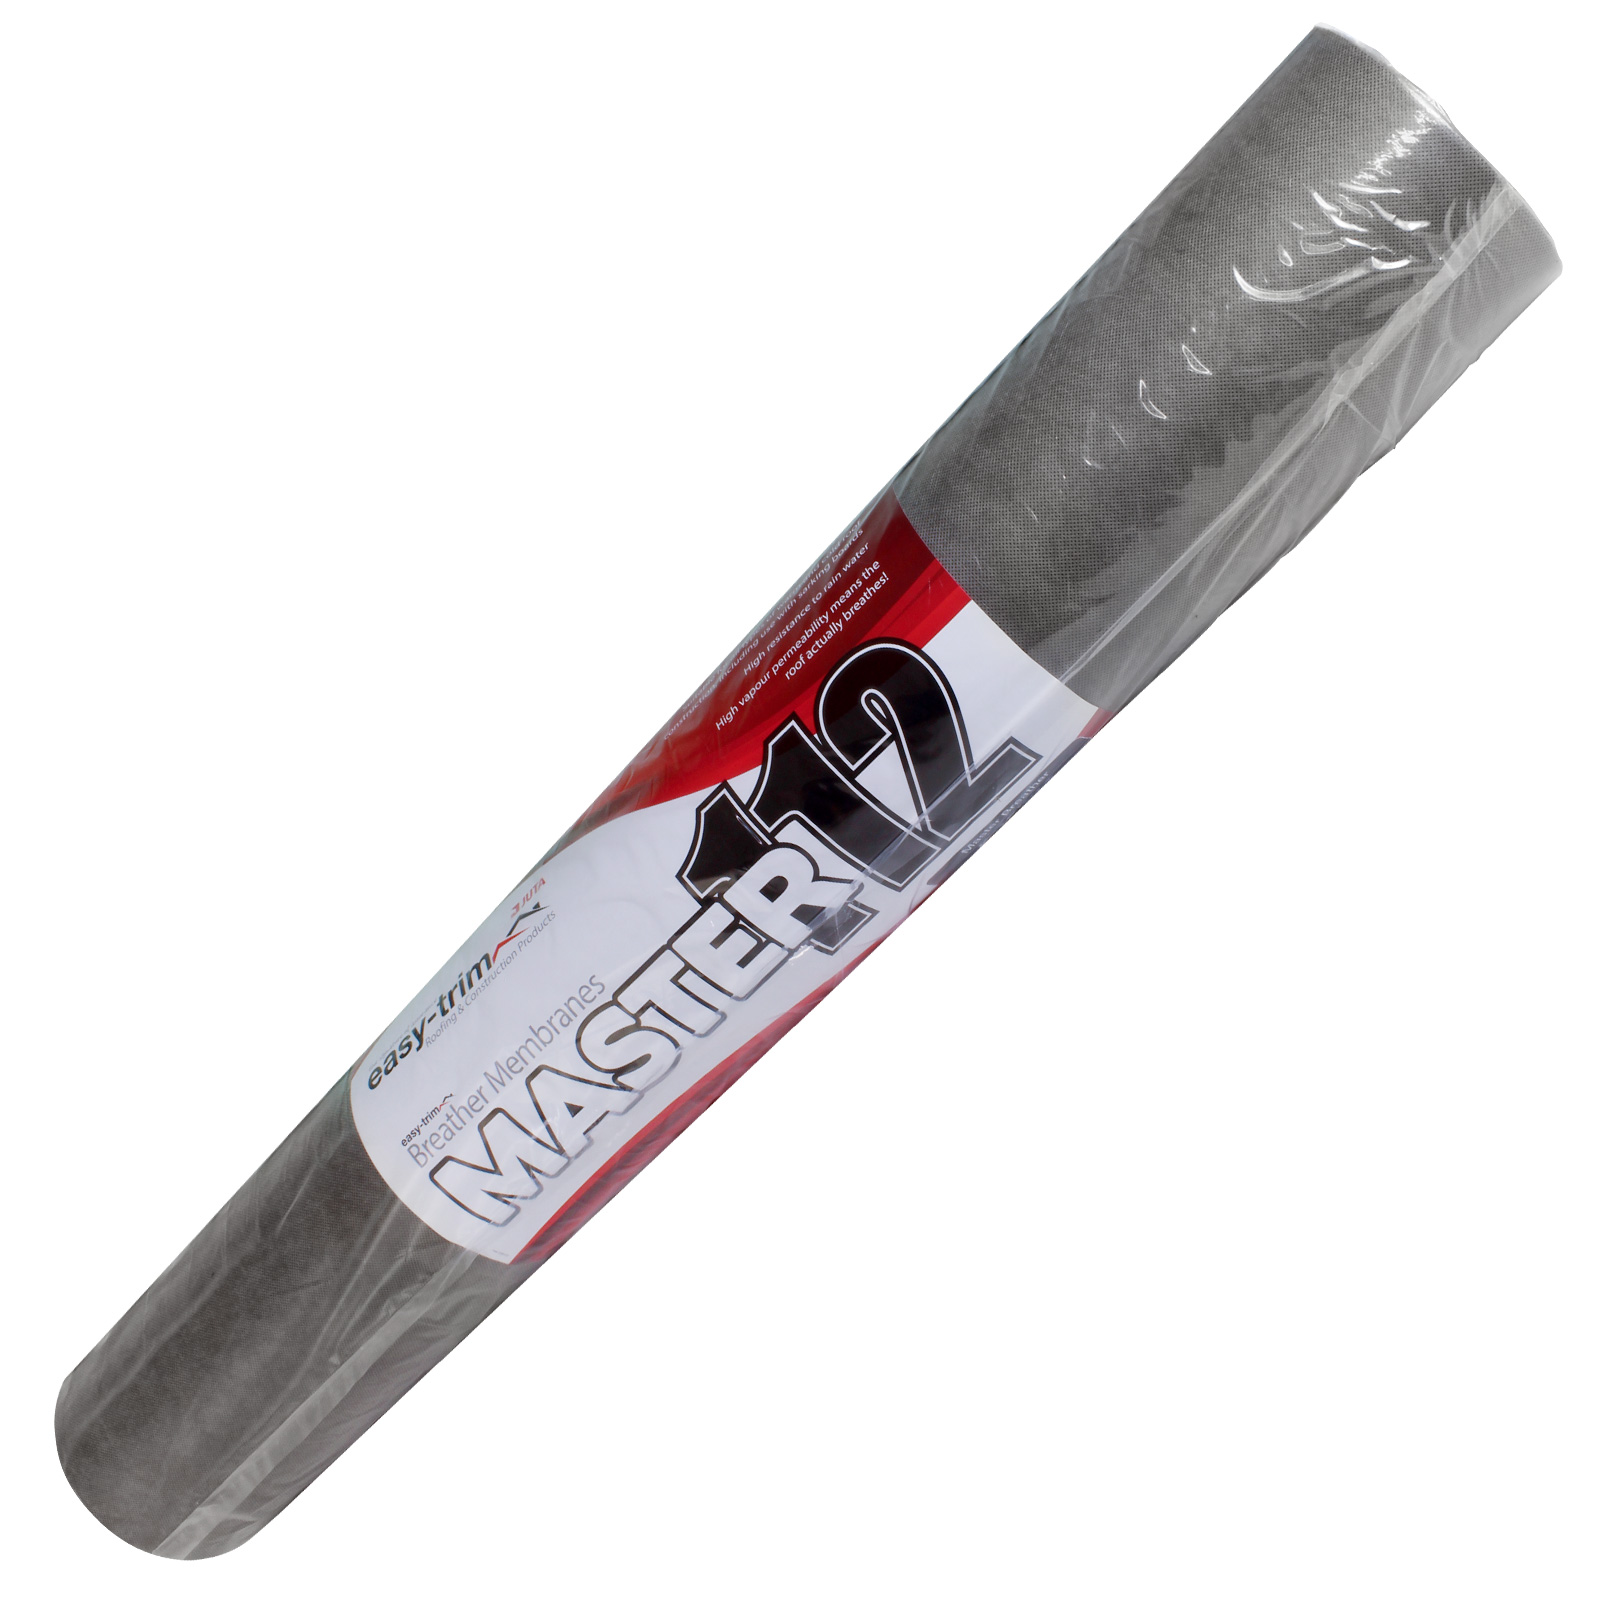
Easy-Trim Master 112 Breather Membrane
Master 112 Breather Membrane Roofing Felt from Easy-Trim (112gsm, 1m x 50m) High vapour permeability and superior water resistant performance! Lightweight and flexible 112gsm BBA certified roof underlay. Easy-Trim Master Breather Membrane offers good tensile tear strength and value for money. Suitable for both fully supported and unsupported installations in tiled or slate pitch roofs. The Master 112 is a type LR (vapour-permeable) 3-layer micro porous breather membrane, which features a microporous film that is thermally bonded between two spun-bonded polypropylene layers. Allows the roof to breathe, so eliminates condensation, whilst providing secondary protection against rainwater ingress. Easy-Trim breather membranes improve energy efficiency and minimise the wind uplift that can loosen slates and tiles. Features & Benefits Protects roof slate and tile - reduces wind uplift Reduces condensation in roof - highly vapour permeable Driven rain and snow protection - second line of defence Highly versatile - use on warm, cold and hybrid roofs Flexible yet strong - good tensile tear strength UV stable for 3 months - protection during construction Quality you can trust - independently tested Superior water resistance - protective polypropylene top layer Printed with brand and cutting grid - easier to identify and fit National Wind Zone Suitability New builds must comply with British Standard for Tiling and Roofing (BS5534) Annex A, with breather membranes tested against wind uplift, and their suitability for use across the 5 national wind zones. Batten GaugeWind Zone Suitability GaugeLap12345 <=345mm Batten Y Y       <=250mm Batten Y Y T Y Y <=345mm Taped Y Y Y Y Y Technical Information MeasurementPerformance Material 3-Layer Polypropylene Sheet (Spun Bonded Polypropylene Layer, Microporous Polypropylene Film, Spun Bonded Polypropylene Layer) Mass 112gsm Size 1m (3ft 3in) x 50m (164ft 1in) Maximum tensile force MD / CMD (N/50mm) 250 / 165 Elongation MD / CMD (%) 50 / 70 Resistance to Tearing MD / CMD (N) 115 / 135 Resistance to penetration of air (m3/m2.h.100Pa) < 0,02 Fire Class E Water Resistance Class W1 Compatibility Suitable for both fully supported and unsupported warm, cold and hybrid, tiled or slate pitch roofs. Can be used with sarking boards. Certification BS5534.2014 Annex A, Type LR Underlay to BS5250, BBA 10/4753, NSAI, CE Fitting and Usage Fitting of Easy-Trim breather membrane should begin at the lowest level of the roof, at the eaves, with the printed side facing out. Starting from the left, roll the membrane horizontally across the rafters to the right, and be sure to allow 100mm lap over the felt-support trays. The use of double-sided overlap tape to secure the lower edge to the felt-support tray is highly recommended. Roof PitchHorizontal LapsVertical Laps Not Fully SupportedFully Supported 12.5 to 14° 225 150 100 15 to 34° 150 100 100 35 to 75° 100 75 100 Horizontal laps in breather membrane should be taped with the double-sided overlap tape, or battened over. Whenever possible, horizontal laps should coincide with the closest tiling or slating batten. Vertical laps should be positioned over a rafter and have a minimum of 100mm lap. Easy-Trim breather membranes are suitable for installations on all major pitch roofing and timber frame applications, and must be installed in accordance with our fixing instructions, complying with the recommendations of BS5534: 2014 + A1: 2015; BS5250: 2011 and BS8000-0: 2014 and any other applicable standard. The products are designed to be installed by competent and experienced installers of slates and tiles.

From £39.96*
%
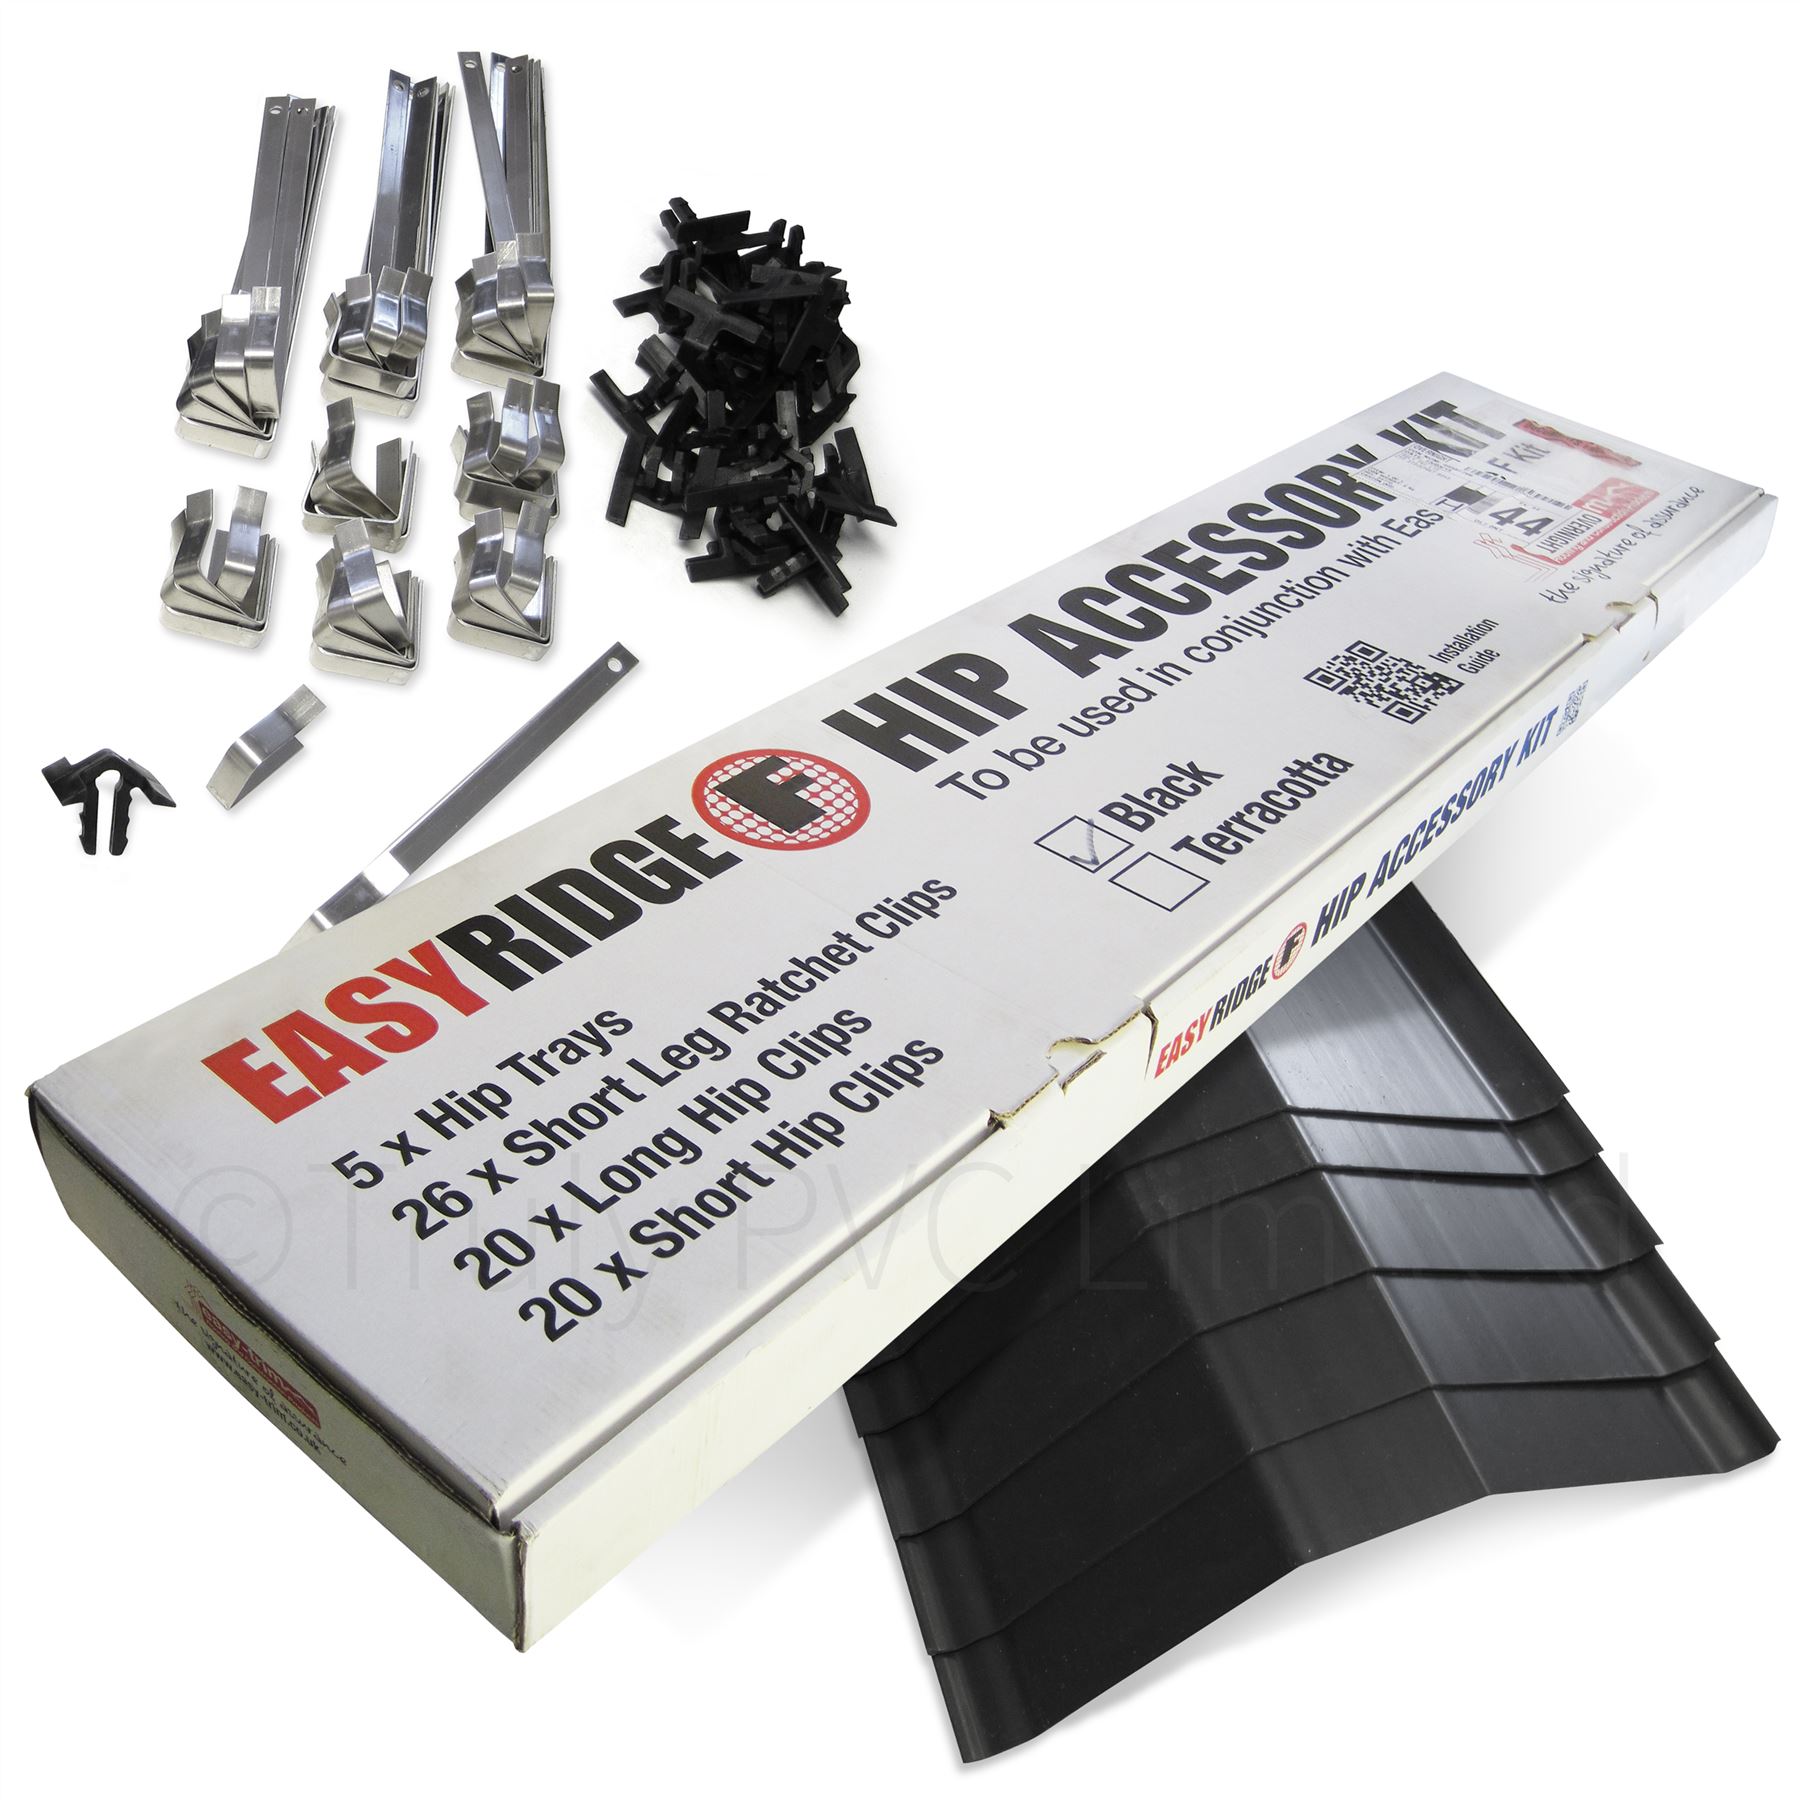
EasyRidge F Dry Fix Hip Accessory Kit
Transform ridge kit into hip kit Hip trays fitted to hip Trays, hip clips and ratchet clips Hip Accessories for EasyRidge Ridge Kit Includes trays, hip clips and ratchet clips Improve the look and performance of your hip Used with the EasyRidge Ridge Kit. Supports hip tile to give a neat, continuous line on the roof and includes a selection of clips for securing small tile cuts along the hip. Hip trays are unobtrusive and will not detract from the overall look of the roof. Features & Benefits Easy to fit - no special tools required Water resistant - another barrier against water ingress Strong and UV stable - lasts long and doesn't break down Attractive - hip tiles look neat and straight Secures roof and hip tile - supplied with aluminium tile and plastic ratchet clips The Hip Accessory Kit is supplied with 26 x Short Leg Ratchet Clips, which can be used as an alternative to the long leg clips supplied with the Ridge Kit itself. These shorter clips can be used when fitting with tile that sit low on the hip, such as Third Round or Marley Modern. They ensure that the clip does not foul against the tile and engages fully. For your convenience, we also supply lonng and short Hip Clips that can secure small tile cuts along the hip. 1.2m Hip Trays (x 5) Short Leg Ratchet Clips (x 26) Long Hip Clips (x 20) Short Hip Clips (x 20) Fitting the EasyRidge Dry Fix Ridge Kit to a hip is made easy with the Hip Accessory Kit. The following pointers illustrates just how easy. Build-up hip to a height that allows the centre of tray to rest on hip batten and the tiles on either side. Elevated hip batten may be secured with mechanical fixings and/or batten straps. Ensure small tile cuts, that cannot be mechanically fixed at the hip in the normal way, are secured using the short or long hip clips supplies. Once built-up hip is complete and small tile custs are secured, ensure tiles are dry and free from dust or other surface contamination. Lay the ridge roll centrally along the hip batten and secure with staple or suitable nails. Remove protective backing from the Butyl strips and dress over the tile to produce a continuous surface contact. The Hip Trays are then fitted to support the hip tiles, keeping them straight and level when screw-fixing to the hip. Trays should be secured with a single corrosion resistant clout nail and overlapped by 50mm along the hip when necessary. Trays can be cut as required at the eaves and mitred at the ridge. Once the hip support trays are in place, hip tiles can be fitted in the same manner as Ridge Tiles.

£12.00* £21.00* (42.86% saved)
EasyRidge Union Maintenance Kit (10 Pack)
Ridge Union Maintenance Pack for EasyRidge F PLUS (Pack of 10, in choice of colour) Secure clamping of ridge and hip tiles! Flexible and tough plastic unions with fixings, for securing domed half-round or angled tile to ridge and hips. Just sit adjoining ridge tiles onto either side of the union up-stand and secure with ratchet clips and central screw. These are the same unions and fixings that are supplied in Easy-Trim's EasyRidge F PLUS ridge kits, and are offered as extra unions, or replacements to lost or broken one. Extra unions may be required to supplement the unions included in a ridge kit, if you are using smaller than standard size ridge tiles. Features & Benefits Use with domed or angled ridge Strong long-lasting material Quick and easy to fit Supplied with screw and clips Part of EasyRidge F PLUS Did you know? The Easy-Trim EasyRidge F PLUS dry ridge kit, which these unions form part of, are compatible with for almost all concrete or clay ridge tiles. Technical Information PropertyValue Material Tough plastic nylon Union Size (l x w x h) 307mm x 49mm x 18mm Compatibility EasyRidge F PLUS Contents Each Union is supplied with 1 x Large Ratchet Clip, 2 x Small Ratchet Clips and 1 x Stainless Steel screw. Pack Size 10 unions with fixings. Fitting the EasyRidge Unions The following is offered as a guide only, and assumes that the ridge is prepared, with appropriate ventilated ridge roll. Prepare the Unions by lightly pressing one large fixing clip (in the central slot) and 2 smaller ratchet clips Place end ridge tile and insert the prepared ridge union under and between the ridge tiles Loosely tighten the 3 ratchet clips down onto the union Secure to ridge fixing batten with Stainless Steel screw through central fixing clip Pushing the ratchet clips into the union to secure Continue process along the ridge

Variants from £11.95*
£13.76*